

Ready to get your next 10,000 subscribers?
Join thousands of creators who use Subscribr to create faster, better YouTube videos.

Are your YouTube videos looking dark, grainy, or unprofessional? You're not alone. Many new creators struggle with lighting, feeling like they need expensive studio setups to get that polished look. The good news? You absolutely don't! Achieving bright, clear, and engaging video quality is possible even with a minimal budget. This article will walk you through simple, affordable lighting techniques and DIY hacks to transform your video quality and help you overcome budget limitations that restrict access to professional equipment.
This guide is designed specifically for aspiring and new YouTubers, focusing on essential technical skill development like shooting and lighting, while helping you balance production quality with budgetary constraints. Think of it as your first step in a "From Beginner to Pro" journey, mastering the fundamentals for YouTube success.
Why Good Lighting is Crucial for YouTube Beginners
Before we dive into the "how," let's quickly touch on the "why." Good lighting isn't just about making things visible; it's a fundamental element of video production that directly impacts viewer perception and engagement:
- Professionalism: Proper lighting instantly makes your videos look more credible and polished, even if you're shooting on a smartphone.
- Clarity: It ensures your viewers can clearly see you, your products, or whatever you're demonstrating. Dark, shadowy videos are hard to watch and can quickly lead to viewers clicking away.
- Mood and Tone: Lighting helps set the atmosphere of your video, whether you want a bright, energetic feel or something more calm and intimate.
- Viewer Retention: High-quality visuals keep viewers engaged longer. If your video is visually appealing, people are more likely to stick around.
Struggling with video quality is a major pain point for new creators. By addressing lighting effectively, you tackle a core technical skill that elevates your entire channel.
Your Cheapest & Best Friend: Natural Light
The absolute best budget lighting for YouTube is often completely free: the sun! Natural light is soft, flattering, and abundant. Learning to use it effectively is the first step to better video quality.
- Positioning is Key: Face a window. This is the golden rule. The large, soft light source from the window will illuminate your face or subject evenly, reducing harsh shadows.
- Avoid Direct Sunlight: Direct, harsh sunlight can create blown-out highlights and deep shadows. Aim for soft, diffused light. An overcast day is perfect, or position yourself slightly away from direct sun coming through the window.
- Best Time of Day: The light is often softest and most flattering in the morning and late afternoon (the "golden hour"). Midday sun can be too harsh.
- How do I avoid shadows in my videos using natural light? By facing the window directly, you minimize shadows on your face. If one side is still too dark, you can use a simple reflector (more on that below) on the opposite side of the window to bounce light back into the shadows.
Using natural light is the simplest way to fix dark videos and is a core technique in technical skill development for video.
Budget-Friendly Artificial Lighting Options
While natural light is great, it's not always available (hello, nighttime shooting!). Thankfully, several affordable artificial lighting options can make a huge difference.
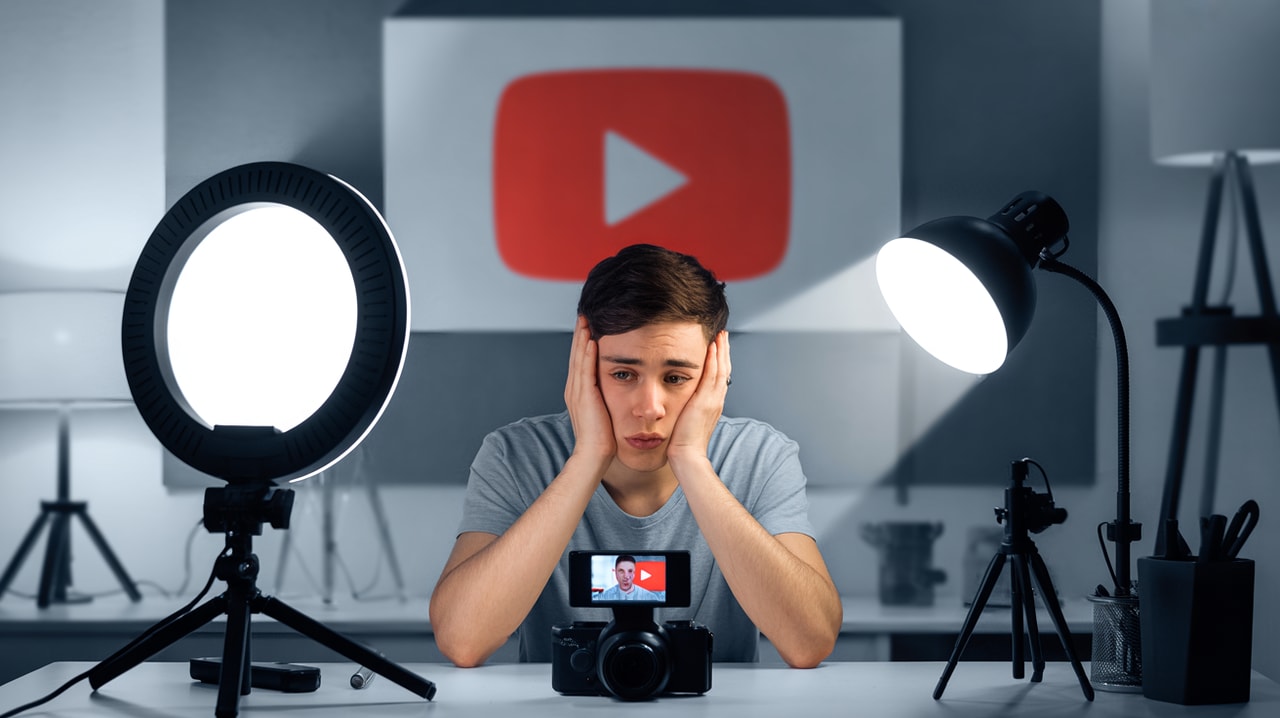
- Ring Lights: These circular lights are incredibly popular with YouTubers, especially for talking-head videos.
- Pros: Provide soft, even, frontal light that reduces shadows and creates a flattering "ring" reflection in the eyes. They are relatively inexpensive, with decent options available for $20-$50. Many come with phone holders and stands.
- Cons: Primarily a single light source, which can look flat on its own. The circular reflection might not be desired for all video styles.
- Desk Lamps: Don't underestimate the power of ordinary desk lamps! As suggested by YouTube strategy experts, you can combine inexpensive desk lamps (often under $50) with one slightly more professional light for a creative setup.
- Pros: Extremely affordable, you might already own some. Can be easily positioned to act as fill lights, backlights, or accent lights. You can change the type of bulb (LED, soft white, daylight) to alter the light quality.
- Cons: Can produce harsh, directional light depending on the bulb and shade. Need diffusion.
- Cheap Softboxes or Umbrella Lights: You can find basic softbox or umbrella lighting kits online for $50-$100.
- Pros: Softboxes and umbrellas are designed to diffuse light, creating a larger, softer light source similar to a window. This results in fewer harsh shadows.
- Cons: Can be bulkier than ring lights or lamps. Cheaper options might not be very durable.
Balancing production quality with budgetary constraints means making smart choices about where to invest. Starting with natural light, then adding one or two of these budget artificial lights is a solid strategy.
Basic Lighting Setups (Easy to Implement)
You don't need a complex studio setup to get good results. Understanding a few basic lighting principles can help you use even cheap lights effectively. The goal is often to use multiple light sources to shape your subject and reduce unwanted shadows.
- Avoiding Backlighting: As recommended by YouTube strategy, avoid having a bright light source (like a window or lamp) directly behind you. This will silhouette you and make your face dark. Always have your main light source in front of you.
- Single Light Source (Okay, but not ideal): Using just one light (like a ring light or a lamp placed directly in front of you) can work in a pinch, but it can create a flat look.
- Two-Point Lighting (Better): Use your main light source (Key Light) slightly to one side of your camera. Then, use a second, less powerful light or a reflector (Fill Light) on the opposite side to fill in the shadows created by the key light. This adds depth and dimension while reducing harsh shadows. You can use a desk lamp on a lower setting or bounced off a wall as a fill light.
- Three-Point Lighting (Standard, but achievable cheaply): This adds a third light (Backlight or Hairlight) placed behind you, often off to one side. This light separates you from the background, adding depth and making your video look more professional. A simple desk lamp positioned carefully out of frame can serve as a backlight.
Learning these basic setups is a key part of developing your technical skills in video production.
DIY Lighting Hacks
Want to go even cheaper? Here are some simple DIY tricks:
- Reflectors: A reflector bounces light back onto your subject. You can buy cheap 5-in-1 reflectors online for under $20, but a piece of white foam board, a white sheet, or even a white t-shirt can work just as well to bounce light from a window or lamp back into the shadowy areas of your shot.
- Diffusion: Harsh light sources create harsh shadows. You can soften the light from a desk lamp or even a bare bulb by placing a translucent material in front of it. Parchment paper, a white shower curtain liner, or a thin white sheet can diffuse light effectively. Just be careful with heat if using older bulbs.
These simple hacks demonstrate that balancing production quality with budgetary constraints is about creativity and resourcefulness.
Putting It All Together: Setting Up Your Space
Once you have your light sources (natural, artificial, or a mix), here's how to set up:
- Choose Your Location: Find a spot with good natural light if possible, or a space where you can easily set up your artificial lights.
- Position Your Main Light (Key Light): Place your strongest light source slightly to the left or right of your camera, angled towards you.
- Add Your Fill Light/Reflector: Place a weaker light or a reflector on the opposite side to soften shadows.
- Consider a Backlight: If you have a third light, position it behind you and slightly above, pointing towards your head and shoulders, to separate yourself from the background.
- Test, Test, Test: Record short test clips. Watch them back to see how the lighting looks. Adjust the position and intensity of your lights until you are happy with the result. Pay attention to shadows on your face and background.
Consistent lighting is a mark of technical skill development. Taking the time to set it up correctly before each shoot makes a big difference.
Beyond Lighting: Quick Tips for Better Video Quality on a Budget
While lighting is critical, a few other factors contribute to overall video quality, even on a budget:
- Audio: Bad audio can ruin a video faster than bad lighting. Your phone's built-in mic is a start, but even a cheap lavalier microphone ($15-$30) or a basic USB microphone ($30-$50) will be a massive upgrade.
- Background: A cluttered or distracting background looks unprofessional. A plain wall, a simple backdrop (a sheet or inexpensive fabric), or a tidy corner of your room works best.
- Camera Stability: Use a tripod, even a small flexible one ($15-$30) or prop your camera up securely to avoid shaky footage.
- Basic Editing: Learning simple editing skills (cutting out mistakes, basic color correction which can help with uneven lighting) goes a long way. Free editing software is available (DaVinci Resolve, CapCut, Shotcut).
Mastering these elements alongside lighting is crucial for balancing production quality with budgetary constraints as you grow.
Tools & Resources for Your YouTube Journey
As you develop your technical skills and learn to balance production quality with budgetary constraints, having the right tools can streamline your workflow. While this article focuses on the visual aspects of lighting, remember that successful YouTube content also requires solid planning, scriptwriting, and optimization.
This is where a platform like Subscribr can be invaluable. Instead of just focusing on the technical side, Subscribr helps you with the strategic and content creation aspects. You can use Subscribr's Research Assistant to gather information for your video topics, use the AI Script Writer to go from an outline to a full script, and leverage the Intel features to analyze what's working in your niche, even if it's just finding popular topics in the "beginner tutorial" space like we did for this article. Subscribr helps you build a complete content strategy, ensuring that the well-lit videos you create are also videos your target audience actually wants to watch.
Monetization Angle: Affiliate Links
Since this article focuses on budget-friendly gear, it presents a natural monetization opportunity. You can include affiliate links to the specific budget ring lights, desk lamps, reflectors, diffusion materials, or microphones you recommend. When someone clicks your link and buys the product, you earn a small commission at no extra cost to them. This is a great way for new creators to start generating a little revenue from their content while genuinely helping their audience find affordable solutions.
Conclusion
You don't need a Hollywood studio to make great-looking YouTube videos. By understanding the basics of lighting and using affordable tools – starting with free natural light, adding budget-friendly artificial sources like ring lights or desk lamps, and employing simple DIY hacks – you can dramatically improve your video quality.
Focus on facing your light source, avoiding backlighting, and using diffusion and reflectors to soften shadows. Combine these lighting techniques with good audio, a clean background, and stable footage, and you'll be well on your way to creating professional-looking content without breaking the bank. Mastering these skills is a vital step in your journey From Beginner to Pro on YouTube, proving that balancing production quality with budgetary constraints is achievable with smart choices and creativity. Start experimenting with your lighting today and watch your videos shine!


