

Ready to get your next 10,000 subscribers?
Join thousands of creators who use Subscribr to create faster, better YouTube videos.

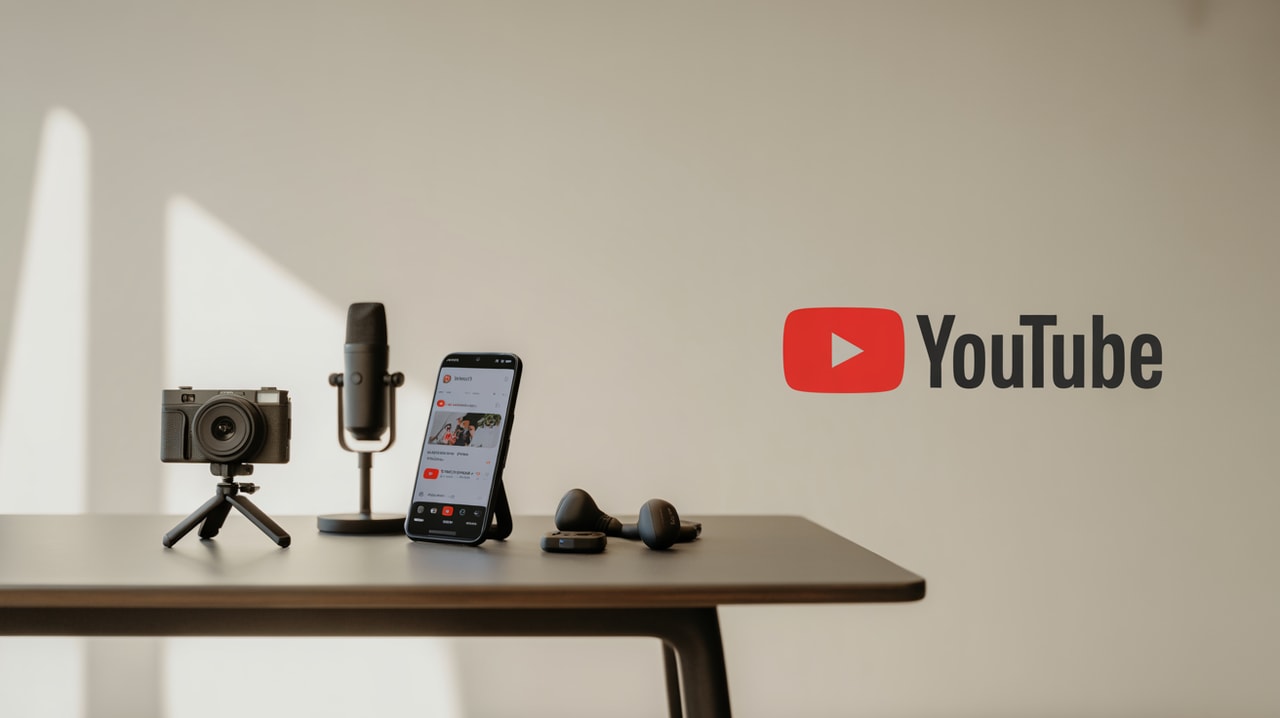
What Gear Do You REALLY Need for YouTube? (A Minimalist Guide for Beginners)
Starting a YouTube channel can feel incredibly overwhelming, especially when you look at the setups of massive creators with their fancy cameras, studio lights, and complex audio equipment. You might think you need to drop thousands of dollars just to get started, and that budget limitation can feel like a brick wall. Add to that the sheer volume of technical terms and tools – shooting, lighting, audio, editing software – and the learning curve can seem impossibly steep.
But here's the truth: You absolutely do not need a professional studio or expensive gear to start a successful YouTube channel.
Many of the biggest creators today started with nothing more than the smartphone they already owned. This article is your minimalist guide to essential YouTube equipment for beginners, designed to cut through the noise, address your budget concerns, and show you how to get started effectively without unnecessary expenses. We'll focus on balancing production quality with budgetary constraints and building your technical skills step-by-step.
By the end of this guide, you'll understand exactly what you need to start, what you can skip, and how to leverage simple tools to create compelling content. Think of this as your "From Beginner to Pro" roadmap for mastering the essential video production fundamentals with a minimalist setup.
Can I Start YouTube with Just My Phone?
Absolutely, yes! This is one of the most common questions aspiring YouTubers have, and the answer is a resounding YES.
According to insights from YouTube strategists, the "fear of the gear" is a major barrier for many potential creators. They wait, thinking they need the "right" camera or microphone, when in reality, the device you already have in your pocket – your smartphone – is a powerful video-making tool.
Modern smartphones shoot in high definition (often 4K), have decent built-in microphones (especially in quiet environments), and offer incredible flexibility. You can record, edit, and even upload your first videos all from a single device.
Starting with your phone helps you overcome excuses and simply begin. Don't wait for a perfect setup. Start filming with what you have, focus on your message, and get comfortable in front of the camera. You can always upgrade your equipment incrementally as you grow and your needs evolve.
What's the Most Important Piece of Gear for Beginners?
While your phone is your starting point, the single most important piece of gear you should consider investing in early on, after your phone, is audio.
Think about your own viewing habits. You might tolerate slightly imperfect video quality if the audio is crystal clear, but it's almost impossible to watch a video with poor, distracting audio, no matter how good the visuals are.
Investing in a simple external microphone can dramatically improve your video quality and viewer retention. Viewers are much more likely to stick around if they can easily understand what you're saying.
You don't need a fancy studio microphone right away. A simple lavalier (lapel) microphone that clips onto your shirt and plugs into your phone is an affordable and effective option. Even a basic USB microphone placed close to you while you record can make a huge difference compared to relying solely on your phone's internal mic.
Focus on making your voice sound clear and easy to listen to. That's where you'll get the most bang for your buck in the beginning.
How Much Should I Spend on Initial YouTube Equipment?
The beauty of a minimalist setup is that your initial investment can be incredibly low – potentially zero dollars if you already own a smartphone.
Your primary goal when starting out is to develop your skills and content strategy, not to build a professional studio. The advice from experienced strategists is clear: start with what you have and invest incrementally.
Here's a breakdown of a minimalist budget approach:
- Use Your Smartphone: Cost = $0 (assuming you already own one)
- Improve Your Audio:
- Basic lavalier microphone: $20 - $50
- Basic USB microphone: $50 - $100
- Improve Your Lighting (Optional but Recommended):
- Use Natural Light: Cost = $0
- Simple ring light or LED panel: $30 - $100
- Improve Stability:
- Stack books or objects: Cost = $0
- Phone tripod: $20 - $50
So, to start with a significantly improved setup beyond just your phone, you might look at an initial investment somewhere in the range of $40 to $250. This is a far cry from the thousands you might imagine needing, and it directly addresses the budget limitations faced by aspiring creators.
Remember, this is a starting point. As your channel grows and potentially starts earning revenue (perhaps through affiliate links for the very gear you recommend!), you can reinvest in better equipment.
Building Your Minimalist YouTube Setup
Let's break down the truly essential elements and how to approach them minimally.
1. Camera (Your Smartphone)
As discussed, your smartphone is your primary camera.
- Tips for using your phone:
- Clean the lens: This sounds obvious, but a smudged lens is a common reason for blurry footage.
- Use the rear camera: It generally has better quality than the front-facing selfie camera.
- Shoot horizontally: YouTube is a horizontal platform (16:9 aspect ratio).
- Use good lighting: Even the best camera struggles in poor light.
- Stabilize your phone: Avoid shaky footage by propping it up or using a tripod.
2. Audio (Your First Upgrade)
Clear audio is paramount.
- Minimalist Audio Options:
- Smartphone's built-in mic: Use in a quiet room, close to the phone. Not ideal, but works in a pinch.
- Wired Lavalier Mic: Plugs into your phone, clips to your shirt. Keeps the microphone close to your mouth for clear sound. Affordable and portable.
- USB Microphone: Plugs into a computer or sometimes directly into a phone/tablet (may require an adapter). Good for desk setups like tutorials or podcasts.
3. Lighting (Makes a Huge Difference)
Good lighting helps your video look professional and keeps your subject well-lit.
- Minimalist Lighting Options:
- Natural Light: Position yourself facing a window. This is free and often provides soft, flattering light. Avoid direct harsh sunlight.
- Desk Lamp: Use a standard desk lamp and point it at yourself. Diffuse it with a piece of white cloth or paper if the light is too harsh.
- Small Ring Light or LED Panel: Affordable, portable lights that provide consistent illumination. Ring lights are particularly good for solo shots as they provide even, frontal lighting.
4. Stability (Avoid Shaky Footage)
Keeping your camera still is crucial for watchable video.
- Minimalist Stability Options:
- Improvise: Stack books, boxes, or anything stable to prop your phone up at the right height and angle.
- Phone Tripod: A small, flexible phone tripod is inexpensive and versatile, allowing you to position your phone easily on a desk or even wrap it around objects.
5. Editing Software (Often Free)
You need to edit your footage together.
- Minimalist Editing Options:
- Smartphone Editing Apps: iMovie (iOS), Google Photos (basic edits), CapCut, InShot. Many powerful editing apps are available for free on mobile.
- Desktop Software: DaVinci Resolve (Free version is incredibly powerful, professional-grade), OpenShot (Free, open-source). You don't need expensive Adobe Premiere Pro or Final Cut Pro to start.
Overcoming the steep learning curve associated with technical skills like editing is a process. Start with simple edits: trimming, cutting out mistakes, adding basic text overlays. Don't try to master complex transitions or effects immediately. Focus on clear storytelling and delivering value. As you get comfortable, gradually explore more features in your editing software.
Balancing Production Quality with Budgetary Constraints
The key here is strategic investment. Instead of buying everything at once, follow this principle: Identify the weakest link in your current setup and upgrade that first.
If your audio is terrible, get a better microphone. If your videos are too dark, improve your lighting. If your footage is shaky, get a tripod.
This targeted approach ensures you're spending money where it will have the biggest impact on your video quality and viewer experience, while staying within your budget.
Remember the content opportunity: "From Beginner to Pro." Your journey involves gradually improving your skills and your gear. Your first videos won't be perfect, and that's okay! The goal is progress, not perfection.
Leveraging Tools for Strategy and Growth
While this article focuses on minimalist gear, remember that equipment is just one piece of the puzzle. Your content strategy, understanding your audience, and analyzing performance are just as, if not more, critical.
Tools like Subscribr can be invaluable even with a minimalist gear setup. Subscribr's Channel Intelligence system helps you analyze what's working (and not working) in your niche, regardless of your production quality. You can use Subscribr's Research Assistant to gather information for your videos, import YouTube transcripts from successful channels to study their structure and delivery (even if they have high-end gear), and use the AI Script Writer to help you craft compelling narratives.
Using Subscribr's tools helps you focus on the strategic elements of YouTube – creating valuable content that resonates with your target audience – which is essential for growth, even when you're just starting with your phone.
Conclusion: Just Start!
The most essential "equipment" you need to start a YouTube channel is the drive to create and share your message. Don't let the perceived need for expensive gear hold you back.
Start with your smartphone. Invest incrementally in audio, then lighting, then stability, based on where you need the most improvement. Embrace the learning curve of technical skills like editing by starting simple and building gradually.
Focus on creating valuable content that addresses the needs and interests of your target audience. Use tools like Subscribr to refine your strategy and content creation process.
Your journey from beginner to pro starts with that first video. Grab your phone, hit record, and share your voice with the world. The minimalist setup isn't a limitation; it's a powerful way to learn the fundamentals and build your channel authentically.


