

Ready to get your next 10,000 subscribers?
Join thousands of creators who use Subscribr to create faster, better YouTube videos.

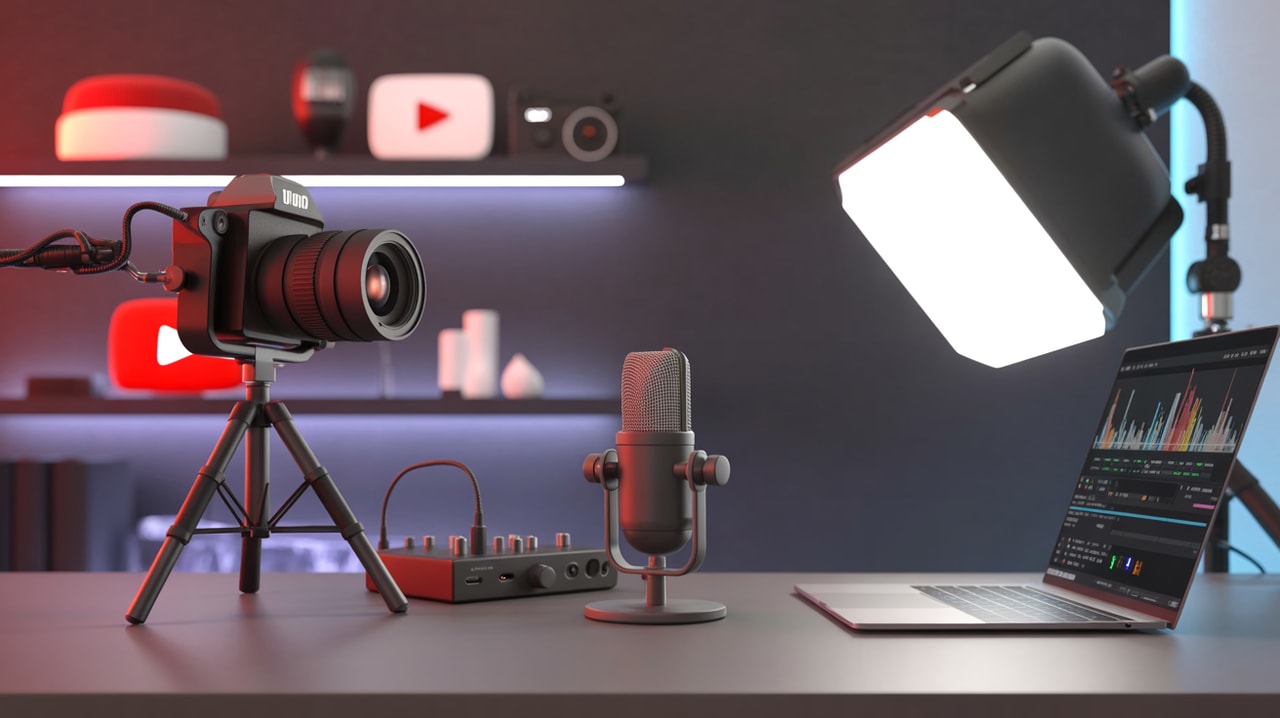
The Podcaster's Guide to YouTube: Essential Video Gear & Setup
So, you're ready to take your podcast from audio waves to the visual world of YouTube? Smart move. Video podcasts are booming, offering a powerful way to connect with your audience on a deeper level, expand your reach, and unlock new monetization opportunities. But if the thought of cameras, lighting, and multi-angle setups feels overwhelming, you're not alone. Many podcasters face technical complexity and struggle to choose equipment that actually fits their content style and goals.
The good news? You don't need a Hollywood studio to start. You can begin simple and upgrade your gear as your video podcast grows. This guide will walk you through the essential video equipment and setup tips to transform your audio podcast into engaging video content, addressing common pain points and helping you make smart gear choices.
Why Video Podcasting is a Game Changer
Putting your podcast on YouTube isn't just about adding a visual layer; it's about creating a versatile piece of content that can live everywhere. You record the video, upload the full episode to YouTube, strip the audio for traditional podcast platforms (like Spotify or Apple Podcasts), and even slice up short, punchy clips for social media like Instagram Reels or YouTube Shorts. This maximizes your effort and impact from a single recording session.
The transition doesn't have to be instant or perfect. Many successful video podcasts started simple and evolved over time. The key is overcoming perfectionism and just starting to leverage the video format.
Essential Camera Setups for Podcasters
YouTube creators use a range of camera setups, and the right one for you depends on your budget, technical comfort level, and content style. Here are the primary types you'll encounter:
1. The Smartphone Setup
Best For: Beginners, solo podcasters, remote interviews (using phone as webcam), mobile recording.
Most modern smartphones shoot in high resolution (often 4K) and are incredibly versatile. This is the most accessible starting point.
- Pros: Affordable, easy to use, portable, good video quality for the cost.
- Cons: Limited control over settings like depth of field, can overheat during long recordings, requires good external audio solutions.
- Enhancements: A simple tripod ($20), a basic plug-in or wireless microphone ($10-$50+), and an affordable light kit ($50) can significantly improve quality.
2. The Desktop Setup (The Battle Station)
Best For: Podcasters who record primarily at a desk, solo shows, remote interviews via video call.
This setup integrates your camera with your computer, often used for live streaming, recording software demos, or hosting video calls.
- Pros: Convenient for desk-based content, integrates well with streaming/recording software, easy to manage remote guests.
- Cons: Lack of mobility, setup is tied to one location.
- Gear: Can range from a laptop webcam and microphone to a high-quality webcam (like a Logitech C920) or even a dedicated camera connected via a capture card (e.g., Elgato Cam Link 4K). Pair with a USB or XLR microphone, and desk-mounted lights.
3. The Fancy Camera Setup (Mirrorless or DSLR)
Best For: Podcasters prioritizing high image quality, seeking professional background blur (bokeh), wanting more control over video settings.
This involves using a dedicated camera designed for video, such as models from Sony (ZV series, A7 series) or Canon (R series).
- Pros: Excellent video quality, better low-light performance, control over depth of field, often has dedicated microphone and headphone jacks.
- Cons: More expensive, requires understanding lenses and camera settings, can be heavier and bulkier.
- Gear: The camera body, interchangeable lenses (e.g., a versatile 24-70mm or a portrait-friendly 50mm/85mm), tripod, and potentially an external recorder or monitor.
4. The Specialty Setup
Best For: Podcasters whose content involves specific activities (e.g., outdoor adventures, behind-the-scenes vlogs).
These cameras are designed for niche uses (GoPro for action, drones for aerials) and are usually additions to your main setup, not the starting point for a studio podcast.
- Pros: Excellent at their specific task.
- Cons: Poor performance outside their specialty (e.g., bad in low light), not ideal for standard talking-head or interview formats.
Building Your Video Podcast Setup
The gear you need goes beyond just the camera. Think about lighting, audio (still crucial!), and potentially multiple angles.
Lighting: Don't Be Left in the Dark
Good lighting is arguably more important than your camera for looking professional. Natural light is great but inconsistent. Investing in artificial lighting provides control and consistency.
- Basic: A simple ring light or a softbox with a diffuse panel positioned in front of you eliminates harsh shadows and brightens your face.
- Intermediate: A two-light setup (key light and fill light) provides more dimension.
- Advanced: A three-point lighting setup (key, fill, and back light) separates you from the background and adds polish. LED panel lights are popular for their flexibility and coolness.
Audio: Still the Foundation
Even with video, your audio quality cannot suffer. Your audience will tolerate a less-than-perfect image more readily than poor sound. Continue prioritizing clear, crisp audio.
- USB Microphones: Convenient for desktop setups (Blue Yeti, Rode NT-USB+).
- XLR Microphones: Offer better quality and require an audio interface or mixer (Shure SM58, Rode NT-SFG+).
- Lapel Mics: Small, clip-on mics are great for keeping mics out of the shot (Rode SmartLav+, DJI Mic).
- Audio Recorders: Devices like Zoom or Tascam recorders capture high-quality audio independently, which is essential for multi-camera setups where camera audio might vary.
Multi-Camera Setups for Dynamic Interviews
If you have co-hosts or interview guests in person, multiple camera angles make your video podcast much more engaging. Instead of one static shot, you can cut between speakers, show reactions, and add visual variety.
- Simple Two-Camera: Position two cameras (even two smartphones) to get closer shots of each person. Ensure "looking room" – the space in the frame should be larger in the direction the speaker is looking.
- Adding a Third Camera: Include a wider shot camera in the center to show both people simultaneously. This is used less often but is useful for group dynamics.
- Recording and Syncing: You can manually hit record on all cameras and sync in editing software, or use a video switcher like an ATEM Mini Pro. Switchers allow you to control and record feeds from multiple cameras at once, simplifying post-production.
Powering Your Gear
For longer recording sessions, especially with dedicated cameras, ensure your gear stays powered. Use dummy batteries plugged into a power source or cameras that can be powered via USB-C.
Overcoming Technical Hurdles and Choosing the Right Gear
The array of options can be daunting, leading to technical complexity and the fear of making the wrong equipment choices. Here's how to navigate it:
- Start Simple: Seriously. Begin with your smartphone and a good microphone. Get comfortable with filming and editing before investing heavily.
- Define Your Content Style: Will it be solo, interviews, on-the-go, or desk-based? This dictates the best camera setup. A mobile setup needs portability; a studio setup needs better control.
- Prioritize Audio: Don't let video distract you from maintaining excellent audio quality.
- Lighting is Key: Good lighting elevates even a basic camera setup.
- Research and Justify: Understand why a piece of gear is recommended for podcasting. Does it offer better low-light performance? Easier audio integration? Compatibility with multi-camera setups? Align your choices with your specific needs.
Remember, your setup can and should evolve. You might start with a webcam, move to a mirrorless camera, and eventually incorporate multiple cameras and a switcher as your channel grows and potentially becomes monetized.
Using Subscribr to Streamline Your Video Podcast Workflow
Transitioning to video podcasting involves more than just gear; it requires a strategic content approach. This is where a platform like Subscribr can be invaluable.
- Scripting and Planning: Even for a conversational podcast, planning key topics and segments is crucial for video. Use Subscribr's AI Script Writer to help structure episodes, generate compelling hooks, and ensure a natural flow that works visually.
- Research: Use Subscribr's Research Assistant to quickly gather information or analyze transcripts from successful video podcasts in your niche to understand their structure and style.
- Optimization: Once you have your video, use Subscribr's tools to craft optimized titles, descriptions, and tags that help your episodes get discovered on YouTube.
By combining the right equipment with smart content planning tools, you can effectively make the leap from audio-only to a thriving video podcast on YouTube.
Conclusion
Taking your podcast to YouTube is a significant step that opens up new avenues for growth and connection. While the technical aspects of video equipment and setup can seem complex, starting simple with gear like your smartphone and gradually upgrading as your needs and budget evolve is a practical approach. Prioritize good audio and lighting from day one, and consider how multi-camera setups can make your interviews more dynamic.
By addressing the technical learning curve head-on and making informed equipment choices aligned with your content goals, you can successfully launch and grow your video podcast. Platforms like Subscribr can further streamline your content creation workflow, helping you focus on delivering valuable episodes to your audience. Embrace the process, experiment with your setup, and get ready to engage your listeners in a whole new way on YouTube.


