

Ready to get your next 10,000 subscribers?
Join thousands of creators who use Subscribr to create faster, better YouTube videos.

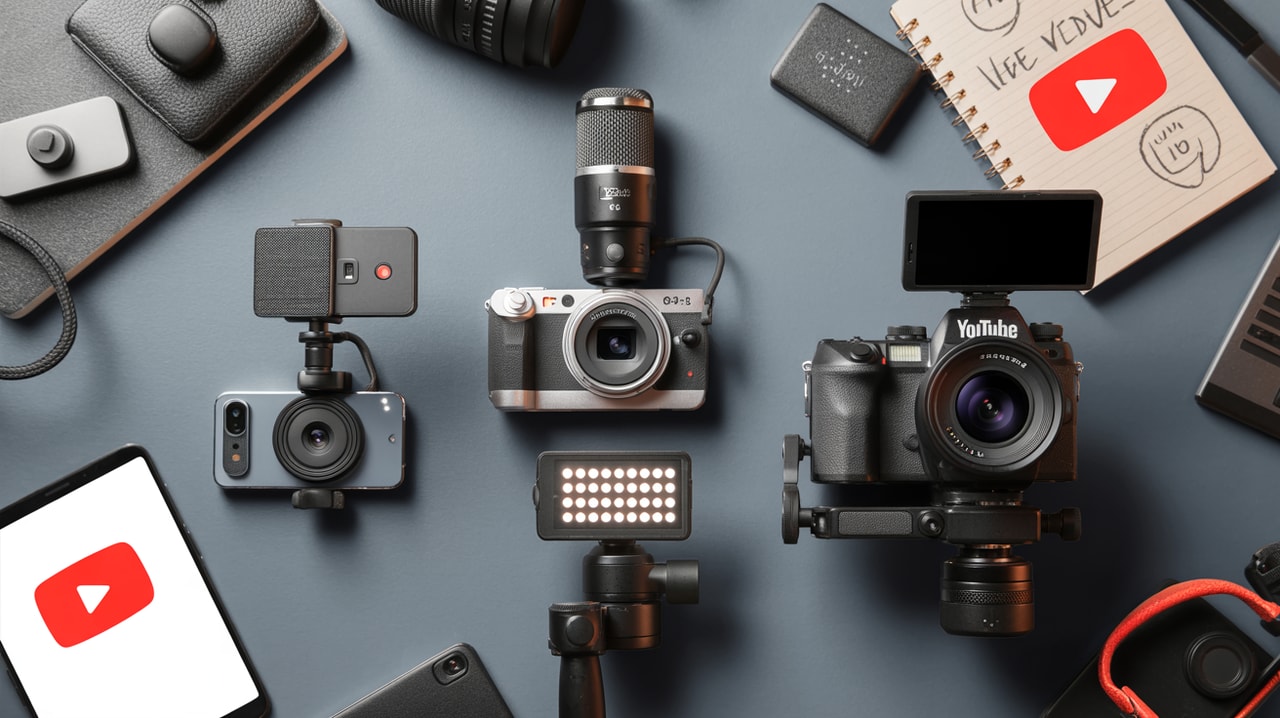
The Ultimate YouTube Camera Setup Guide (For Every Budget & Style)
Choosing the right camera for your YouTube journey can feel overwhelming. With countless options, technical specs, and conflicting advice, it's easy to fall into analysis paralysis or end up buying expensive gear that doesn't actually fit your needs or content style. You want your videos to look good, professional even, but how do you navigate the maze of smartphones, webcams, mirrorless cameras, and accessories without wasting money?
This guide is designed to cut through the noise. We'll explore the different types of camera setups YouTube creators use, help you ask the right questions to find your perfect fit, and show you how to build a setup that enhances your production quality without breaking the bank. Remember, the best camera is the one you'll actually use to create great content.
Why Your Camera Setup Matters (and Why It Doesn't As Much As You Think)
Yes, video quality is important on YouTube. Clear, sharp footage makes your content easier to watch and instantly adds a layer of professionalism. It can help with viewer retention because people aren't distracted by poor image quality.
However, the camera body itself is only one piece of the puzzle – and often, it's not the most important one, especially when you're starting out. Many creators fall into the trap of thinking the most expensive camera automatically equals success. The truth is, compelling content, clear audio, good lighting, and stable shots often contribute far more to a video's success than the camera's resolution or sensor size.
Think of it this way: a brilliant chef can make amazing food with basic kitchen tools, but a novice cook will struggle even with the fanciest equipment. Your skills as a storyteller, presenter, and editor matter more than your camera's price tag.
Investing wisely means balancing your budget across the essential elements: camera, audio, lighting, and stability. Prioritizing audio and lighting often provides a much bigger return on investment for improving perceived quality, especially in the beginning.
Understanding the Different Types of YouTube Camera Setups
YouTube creators use a variety of camera setups, often upgrading as their channel grows and their needs evolve. Here are the most common types you'll encounter:
1. The Smartphone Setup (Beginner/Budget King)
For many, the best camera they already own is their smartphone. Modern smartphones, even mid-range ones, shoot incredible video quality, often in 4K. They are portable, easy to use, and you probably have it with you all the time.
- Pros: Affordable (you own it!), portable, excellent image quality in good light, intuitive to use.
- Cons: Limited control over settings (though pro apps help), fixed lens, audio quality from built-in mic is usually poor, battery life can be an issue for long shoots.
- Best For: Vloggers, mobile content creators, interviews on the go, beginners testing the waters, YouTube Shorts.
- How to Enhance: This setup benefits massively from accessories: a simple tripod or phone mount for stability, an external microphone (a lavalier or small shotgun mic), and a portable light source (like a small LED panel or ring light).
2. The Webcam / Desktop Setup (Talking Head/Streaming)
Ideal for creators who film primarily at a desk, such as gamers, coders, educators, or podcasters recording video. Basic webcams are affordable and plug-and-play, while higher-end webcams offer better resolution and features. Many creators also connect mirrorless or DSLR cameras to their computer using a capture card for a significant quality boost.
- Pros: Easy setup for desk-based content, good for live streaming and calls, consistent environment.
- Cons: Limited mobility, often requires good external lighting, quality varies wildly between models.
- Best For: Live streamers, tutorials filmed at a computer, video podcasts, online coaching.
- How to Enhance: A good USB microphone is crucial here. Proper desk lighting (like LED panels or ring lights designed for desktops) makes a huge difference. A desk mount for your camera or light helps save space.
3. The Action Camera Setup (Vlogging/Movement)
Cameras like GoPros were built for durability and portability, making them excellent for vlogging on the go, action sports, travel, or any situation where the camera might get wet or bumped. Some newer models even have features specifically beneficial for vertical video.
- Pros: Extremely durable, waterproof (usually), very portable, wide-angle lens suitable for vlogging, good stabilization.
- Cons: Can struggle in low light, built-in audio is often poor (requires adapter for external mic), wide-angle look isn't for everyone.
- Best For: Vloggers, travel channels, action sports, outdoor content, documentary style where portability is key.
- How to Enhance: external microphone with an adapter, spare batteries, various mounts (chest, head, tripod).
4. The Mirrorless or DSLR Setup (Intermediate/Professional)
This is where you step into interchangeable lenses and larger sensors, offering significantly more control over image quality, depth of field (blurry backgrounds), and performance in various lighting conditions. Mirrorless cameras are generally smaller and lighter than traditional DSLRs, making them popular for video.
- Pros: Excellent image quality, interchangeable lenses for different looks, great low-light performance (especially full-frame), more manual control, microphone and headphone jacks.
- Cons: More expensive (camera and lenses), larger and heavier than phones/action cams, steeper learning curve, requires additional accessories (tripod, mics, lights).
- Best For: Filmmakers, videographers, channels focused on high production value, portraits, product shots, cinematic vlogs.
- How to Enhance: High-quality lenses, external microphones (often XLR with an audio interface), robust tripods, professional lighting setups, gimbals or stabilizers for smooth motion shots.
Beyond the Camera: The Essential Trio
Seriously, don't skimp on these. You can shoot on a smartphone, but if your audio is crystal clear, your lighting is flattering, and your shot is stable, your video will instantly look and feel more professional than shaky, dark footage with bad audio from an expensive camera.
1. Audio is King
Viewers will tolerate less-than-perfect video quality if the audio is good, but they will click away instantly if the audio is poor (muffled, noisy, echoing). Your voice is a direct connection to your audience.
- Microphone Types:
- Built-in Mics: Convenient, but generally low quality. Only use if absolutely necessary.
- Lavalier (Lapel) Mics: Small, clip-on mics great for capturing clear voice audio close to the source. Good for talking heads, interviews, and vlogging. Available in wired and wireless options.
- USB Microphones: Plug directly into your computer. Excellent for desktop setups, voiceovers, and podcasts. Easy to use.
- Shotgun Microphones: Directional mics that mount on your camera or a boom pole, capturing audio from the direction they are pointed. Good for isolating sound and reducing background noise, especially for vlogging or filming on location.
- XLR Microphones: Professional-grade mics requiring an audio interface or recorder. Offer the best quality and control but add complexity and cost.
- What to Look For: Consider your filming environment (noisy vs. quiet), your content style (talking head vs. on the go), and your budget. Even an affordable external mic is a massive upgrade over a built-in one.
2. Lighting is Everything
good lighting can transform a drab shot into something visually appealing. It helps separate you from the background, makes your skin tone look better, and sets the mood for your video. Natural light is great, but often inconsistent. Artificial lights give you control.
- Basic Setups:
- Natural Light: Position yourself facing a window for soft, free light. Avoid direct sunlight, which is too harsh.
- Ring Lights: Popular for vlogging and beauty content, they provide even, flattering light that reduces shadows and creates a signature catchlight in the eyes.
- LED Panels: Versatile and often dimmable/color adjustable. Can be used with softboxes or diffusers to create soft light.
- Three-Point Lighting: A standard technique using a Key light (main light), Fill light (softens shadows from the key), and Back light (separates subject from background).
- What to Look For: Brightness (measured in Lux or Lumens), color temperature (warm vs. cool light), color accuracy (CRI), portability, and power source (AC vs. battery). Soft, diffused light is generally more flattering than harsh, direct light.
3. Stability is Underrated
Shaky footage is distracting and unprofessional. Whether you're filming a stationary talking head or walking around vlogging, keeping your camera steady is crucial.
- Tripods: Essential for static shots, interviews, and filming yourself. Available in various sizes, from small tabletop tripods for phones/webcams to heavy-duty video tripods for larger cameras. Look for stability, height range, and a smooth video head for panning/tilting.
- Gimbals & Stabilizers: Use motors to keep the camera perfectly level and smooth while you're moving. Great for cinematic shots, walking vlogs, and dynamic camera movements.
Choosing YOUR Right Setup: Questions to Ask Yourself
Before you buy any gear, pause and answer these questions. This will help align your equipment choices with your specific content goals and avoid potential misalignment and wasted investment.
- What is your total budget for gear right now? Be realistic. Remember to allocate funds for audio and lighting, not just the camera body.
- What type of content will you primarily create? (Talking head, vlogs, tutorials, gaming, reviews, outdoor adventures, cinematic shorts, etc.) Your content style dictates the best camera type and necessary accessories.
- Where will you be filming most often? (Indoors, outdoors, controlled studio, varied locations, on the go?) This impacts needs for portability, durability, low-light performance, and audio solutions.
- What is your current skill level with video production? (Filming, lighting, audio recording, editing?) Start with simpler gear if you're a beginner and upgrade as your skills improve. Don't buy a complex cinema camera if you're still learning basic editing.
- What gear do you already own? Can your smartphone, an old point-and-shoot, or a computer webcam get you started or serve a specific purpose? Leverage what you have first.
- What are your long-term goals for your channel? Are you creating videos as a hobby, trying to build a side hustle, or aiming to become a full-time creator? This influences how much you should invest and how quickly you might need to upgrade.
- How important is portability vs. maximum quality? Do you need a camera you can easily carry everywhere, or will you always film in a controlled environment where size and weight don't matter as much as image quality?
Answering these questions honestly will clarify your needs and help you select gear that genuinely supports your content creation process.
Building Your Setup (From Beginner to Pro)
Here's a tiered approach to building your YouTube camera setup, focusing on smart investments at each stage:
-
Tier 1: The Absolute Beginner (Under $200 - beyond your phone)
- Camera: your smartphone
- Audio: An affordable wired lavalier microphone or a simple USB microphone for desktop use.
- Lighting: Position yourself near a window. Add a small, inexpensive clip-on LED light or a basic ring light.
- Stability: A phone tripod adapter and a small flexible tripod or a basic full-size tripod.
- Focus: Learn to consistently create content, practice speaking to the camera, and understand basic editing.
-
Tier 2: The Growing Creator (Adding Production Value - $200 - $1000)
- Camera: Upgrade to a high-quality webcam (for desktop) or an entry-level mirrorless camera (like a Sony ZV-1/ZV-E10, Canon R10/R50, or similar) or a good action camera (GoPro, DJI Osmo Action).
- Audio: A better quality USB microphone, a wireless lavalier system, or a camera-mounted shotgun mic.
- Lighting: A larger ring light or one or two dimmable LED panels with stands and diffusers.
- Stability: A more robust full-size tripod. Consider a basic gimbal for smoother mobile shots.
- Focus: Improve lighting techniques, learn audio mixing basics, experiment with different shot types and camera movements.
-
Tier 3: The Dedicated Creator (Professional Aspirations - $1000+)
- Camera: Mid-range to high-end mirrorless or DSLR camera with interchangeable lenses. Invest in quality lenses tailored to your content (e.g., a good prime lens for blurry backgrounds, a versatile zoom lens).
- Audio: XLR microphone(s) with an audio interface or recorder. Invest in acoustic treatment for your recording space if filming indoors.
- Lighting: A multi-light setup (e.g., 3-point lighting) using powerful, color-accurate LED panels or studio lights with large softboxes.
- Stability: A professional-grade fluid head video tripod for smooth pans and tilts. A higher-end gimbal for cinematic motion.
- Focus: Master advanced cinematography, lighting design, and audio engineering. Develop a distinct visual style.
Remember that upgrading is a process. Start where you are, invest strategically in areas that will make the biggest impact on your specific content, and gradually build your setup as your channel and budget grow. This tiered approach also provides natural opportunities for affiliate linking if you plan to monetize your content by recommending gear.
Leveraging Tools for Strategy
Having the right gear is just the first step. To truly succeed on YouTube, you need a solid content strategy. This is where tools like Subscribr come in, complementing your camera setup by helping you plan, research, and optimize your videos before you even hit record.
Instead of guessing what topics will resonate or how to structure your videos, you can use Subscribr's Research Assistant to quickly gather information and generate ideas. The Script Building Pipeline takes you from initial concept to a polished script, ensuring your message is clear and engaging. You can analyze successful videos in your niche using Video Breakdown Analysis to understand their structure and hooks, applying those insights regardless of whether they filmed on a phone or a cinema camera.
By focusing on strong strategy and compelling content using tools like Subscribr, you ensure that the footage you capture with your chosen camera setup is part of a video that's designed to perform well and connect with your audience.
Conclusion
Choosing the best YouTube camera setup doesn't have to be complicated. Start by assessing your budget, content style, and current skill level. Remember that while camera quality is important, investing in good audio, lighting, and stability will often provide a more significant improvement to your video's perceived quality, especially in the early stages.
Begin with the gear you already have, likely your smartphone, and add essential accessories like a microphone, a light, and a tripod. As your channel grows and your needs become clearer, you can gradually upgrade your camera and build a more advanced setup.
Ultimately, the most crucial element is your content and your commitment to creating consistently. Use your gear to tell your story effectively, and combine it with smart strategy and planning using tools like Subscribr to give your channel the best chance to succeed. Now, stop researching and start filming!


