

Ready to get your next 10,000 subscribers?
Join thousands of creators who use Subscribr to create faster, better YouTube videos.

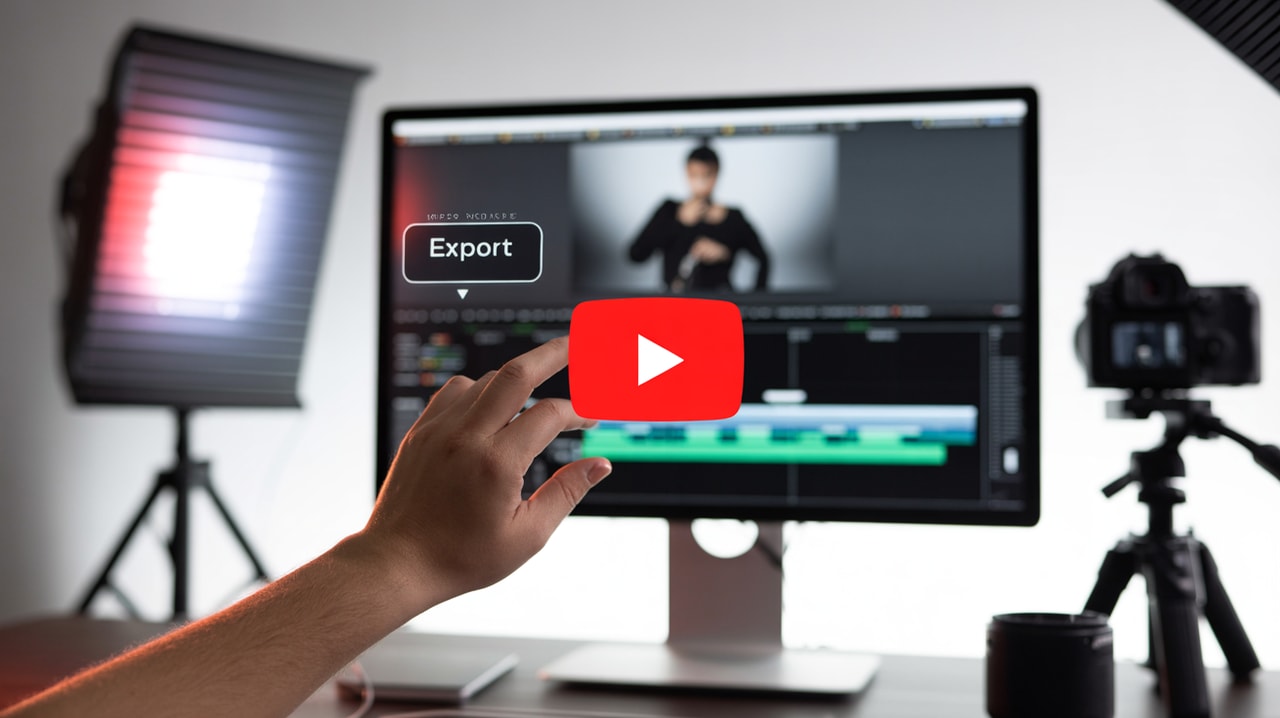
Optimizing Video Files for YouTube: Best Export Settings for Quality & Speed
Confused by the maze of export settings in your video editor? You're not alone. Achieving that perfect balance between stunning video quality and manageable file sizes for quick uploads can feel like a technical minefield. Many intermediate YouTubers struggle with inconsistent quality or lengthy export and upload times, making the editing process feel tedious and complex. But mastering your export settings is a crucial step in delivering professional-looking content efficiently.
This guide will cut through the confusion and show you the best video export settings for YouTube, helping you maximize quality while ensuring reasonable file sizes and upload speeds. We'll cover the essential technical details and provide actionable strategies to streamline your workflow.
Understanding the Core Concepts: Resolution, Frame Rate, Bit Rate, Codecs, and Containers
Before diving into specific settings, let's clarify a few key terms you'll encounter in your editing software:
- Resolution: This refers to the number of pixels that make up your video image. Higher resolutions (like 1920x1080 for 1080p HD, 2560x1440 for 1440p, or 3840x2160 for 4K UHD) contain more detail and result in a sharper image, assuming your original footage was captured at that resolution or higher.
- Frame Rate (fps): This is the number of still images (frames) displayed per second to create the illusion of motion. Common frame rates for YouTube include 24, 25, 30, 48, 50, and 60 fps. The key is consistency – your export frame rate should match the frame rate you filmed and edited in for smooth playback.
- Bit Rate: This determines the amount of data used per second of video. It's measured in megabits per second (Mbps). A higher bit rate generally means better quality because more data is used to describe the image, but it also results in a larger file size. Finding the right bit rate is crucial for balancing quality and file size.
- Codec: A codec (coder-decoder) is a technology used to compress and decompress video data. It takes raw video footage and encodes it into a smaller digital file for storage or transmission, then decodes it for playback. Codecs are essential for making video files manageable.
- Container: The container format (like MP4, MOV, or MKV) is essentially a wrapper that holds the video stream (encoded by a codec), audio tracks (encoded by an audio codec), metadata, and other information together in a single file.
YouTube's Recommended Export Settings
YouTube is quite flexible with the video formats it accepts, but following their recommended encoding settings ensures the best compatibility and allows their system to process your video efficiently. This can lead to faster processing times and potentially better playback options for viewers.
The core recommendations are:
- Container: MP4. While other formats might work, MP4 is the most widely recommended and compatible.
- Video Codec: H.264. This is a highly efficient compression codec that provides a good balance between quality and file size, especially for high-resolution video.
- Audio Codec: AAC-LC (Advanced Audio Coding - Low Complexity). Ensure your audio is exported using this codec, typically in stereo or 5.1 surround sound. YouTube recommends an audio sample rate of 48kHz.
Using these basic settings helps prevent compatibility issues and optimizes the initial upload process. You'll typically find these options within the "advanced settings" or "codec settings" section of your video editing software's export menu.
Choosing the Right Resolution and Frame Rate
Selecting the appropriate resolution and frame rate is fundamental to achieving the desired look and feel for your video on YouTube.
- Resolution: Always aim to export at the highest resolution you filmed in. If you shot in 4K, export in 4K (3840x2160). If you shot in 1080p, export in 1080p (1920x1080). While YouTube can downscale higher resolutions, you'll lose the benefit of the extra detail if you export at a lower resolution than your source footage. 1080p is the standard for HD quality, but 1440p and 4K offer a noticeably sharper image on compatible displays.
- Frame Rate: The most important rule for frame rate is consistency. Whatever frame rate you used when recording (e.g., 24fps for a cinematic look, 30fps for standard video, 60fps for smooth action or gaming), use the exact same frame rate when exporting. Mixing frame rates during the production process can lead to choppy or unnatural motion in your final video. YouTube supports standard frame rates like 24, 25, 30, 48, 50, and 60 fps.
- Interlacing: Avoid exporting interlaced video (commonly seen as 'i' after the resolution, like 1080i). Interlaced video displays alternating lines of each frame, a legacy format from older broadcast technology. Modern displays and YouTube prefer progressive scan video (indicated by 'p', like 1080p or 4Kp), where each frame is displayed completely at once. If your source footage is interlaced, you should de-interlace it during editing before exporting to a progressive format.
Mastering Bit Rate for Quality and File Size
Bit rate is where the balance between visual quality and file size is most directly controlled. A higher bit rate means more data is used to encode the video, resulting in better detail preservation and fewer compression artifacts, but a larger file size and potentially longer upload times.
YouTube provides recommended bit rate ranges based on resolution and frame rate. These are good starting points, but the ideal bit rate can vary depending on the complexity of your video content (fast action requires a higher bit rate than a static shot) and your internet upload speed.
- Use Variable Bit Rate (VBR): Most editing software offers Constant Bit Rate (CBR) and Variable Bit Rate (VBR). Always choose VBR. VBR analyzes your video content and allocates more data (a higher bit rate) to complex scenes with lots of motion or detail, and less data (a lower bit rate) to simpler, static scenes. This optimizes file size while maintaining quality where it matters most. When using VBR, you might set a target bit rate and a maximum bit rate.
- YouTube's Recommended Bit Rate Ranges (for SDR - Standard Dynamic Range):
- 1080p: 8-10 Mbps (30fps), 12-15 Mbps (60fps)
- 1440p (2K): 16 Mbps (30fps), 24 Mbps (60fps)
- 2160p (4K): 35-45 Mbps (30fps), 53-68 Mbps (60fps)
- High Dynamic Range (HDR): If you are exporting in HDR, YouTube recommends significantly higher bit rates:
- 1080p HDR: 10-15 Mbps (30fps), 15-20 Mbps (60fps)
- 1440p (2K) HDR: 20-30 Mbps (30fps), 30-45 Mbps (60fps)
- 2160p (4K) HDR: 44-56 Mbps (30fps), 66-85 Mbps (60fps)
- Find Your "Minimum Effective Dose": Don't feel pressured to export at the absolute highest bit rate possible, especially if you have slower internet. Exporting at an unnecessarily high bit rate (e.g., 40+ Mbps for 1080p) is often overkill and will dramatically increase file size and upload time without a noticeable improvement in perceived quality for most viewers. Experiment to find the lowest bit rate that still provides excellent quality for your specific content and resolution.
Beyond the Basics: Other Settings for Optimal Quality
While resolution, frame rate, and bit rate are the most critical, a few other settings can impact the final quality of your YouTube export:
- Color Space: For standard video, use sRGB (Rec. 709). This is the standard color space for most online video and ensures your colors look consistent across different devices. If you are working with HDR footage, use the appropriate HDR color space (like Rec. 2020).
- Audio Settings: Ensure your audio is exported at a 48kHz sample rate and in Stereo or 5.1 Surround Sound if applicable, using the AAC-LC codec. Pay attention to your audio levels during editing to avoid clipping or distortion.
Workflow Optimization for Export and Upload Speed
Exporting and uploading can be time-consuming, especially with high-resolution video. Optimizing your workflow and investing in your setup can significantly speed things up, addressing the pain point of a tedious editing process.
- Hardware Matters: A faster computer with a powerful processor, ample RAM, and a capable graphics card will drastically reduce export times. Similarly, upgrading to a faster internet connection with higher upload speeds is crucial for shortening the time it takes to get your large video files onto YouTube. For creators serious about growth, investing in better hardware and internet is an investment in production efficiency.
- Streamline Your Editing Process: Minimize switching between different software applications during editing. Perform animations, cuts, and effects within your primary editing software (like Premiere Pro, DaVinci Resolve, or CapCut) whenever possible. Constantly moving assets between programs adds unnecessary rendering and export steps.
- Utilize Presets and Templates: Save your preferred export settings as presets in your editing software. This eliminates the need to manually configure settings for each video, saving time and ensuring consistency. Similarly, using editing templates for intros, outros, or graphics can speed up repetitive tasks.
- Automate Where Possible: Take advantage of automation features. Many modern editing software programs offer automatic subtitling, which can save hours of manual transcription. Tools within platforms like Subscribr can also help streamline your entire video creation workflow, from research and scriptwriting to preparing content for export.
Post-Production Best Practices for Overall Quality
Remember that export settings are the final step in ensuring quality. The quality of your final video is also heavily influenced by your post-production work before hitting export.
- Color Grading: Proper color correction and grading can elevate the visual appeal of your video significantly. Aim for natural-looking colors that match your channel's style.
- Sound Mixing: Clear, well-mixed audio is paramount. Ensure dialogue is easy to understand, background music is at an appropriate level, and sound effects enhance the viewing experience without being distracting.
- Captions: Adding captions or subtitles is essential for accessibility and can improve viewer retention. As mentioned, use automatic features in your editing software or platforms like Subscribr to generate these efficiently.
Putting It All Together: Your Export Checklist
Here’s a simple checklist for exporting your videos for YouTube:
- Container: MP4
- Video Codec: H.264
- Audio Codec: AAC-LC
- Resolution: Match your source footage (1080p, 1440p, or 4K)
- Frame Rate: Match your source footage (e.g., 24, 30, 60 fps)
- Interlacing: Ensure it's Progressive (p), not Interlaced (i)
- Bit Rate: Use VBR, targeting YouTube's recommended range for your resolution/frame rate. Adjust based on content complexity and internet speed to find your "minimum effective dose."
- Audio Sample Rate: 48kHz
- Color Space: sRGB (Rec. 709) for standard video
Most editing software (Premiere Pro, DaVinci Resolve, Final Cut Pro, CapCut, etc.) will have options to configure these settings in their export or delivery menus. Look for "Export Settings," "Output Settings," or "Render Settings."
Tools & Resources
Optimizing your export settings is just one piece of the puzzle for YouTube success. A streamlined workflow, from idea to upload, is key to consistent content creation. Platforms like Subscribr are designed to help creators at every stage. From using the Research Assistant to gather information and analyze YouTube transcripts, to leveraging the AI Script Writer to quickly draft content, and utilizing workflow features to organize your production process, Subscribr helps you create high-quality videos more efficiently. By focusing on strategy and content creation with tools like Subscribr, you can spend less time wrestling with technical settings and more time connecting with your audience.
Conclusion
Exporting your videos with the correct settings is vital for ensuring they look and sound their best on YouTube and upload efficiently. By understanding the basics of resolution, frame rate, bit rate, codecs, and containers, and following YouTube's recommendations, you can avoid common pitfalls and significantly improve the quality and speed of your video production workflow. Implement these best practices, save your preferred settings as presets, and continue to refine your process to make editing and exporting a smooth, efficient part of your content creation journey.


