

Ready to get your next 10,000 subscribers?
Join thousands of creators who use Subscribr to create faster, better YouTube videos.

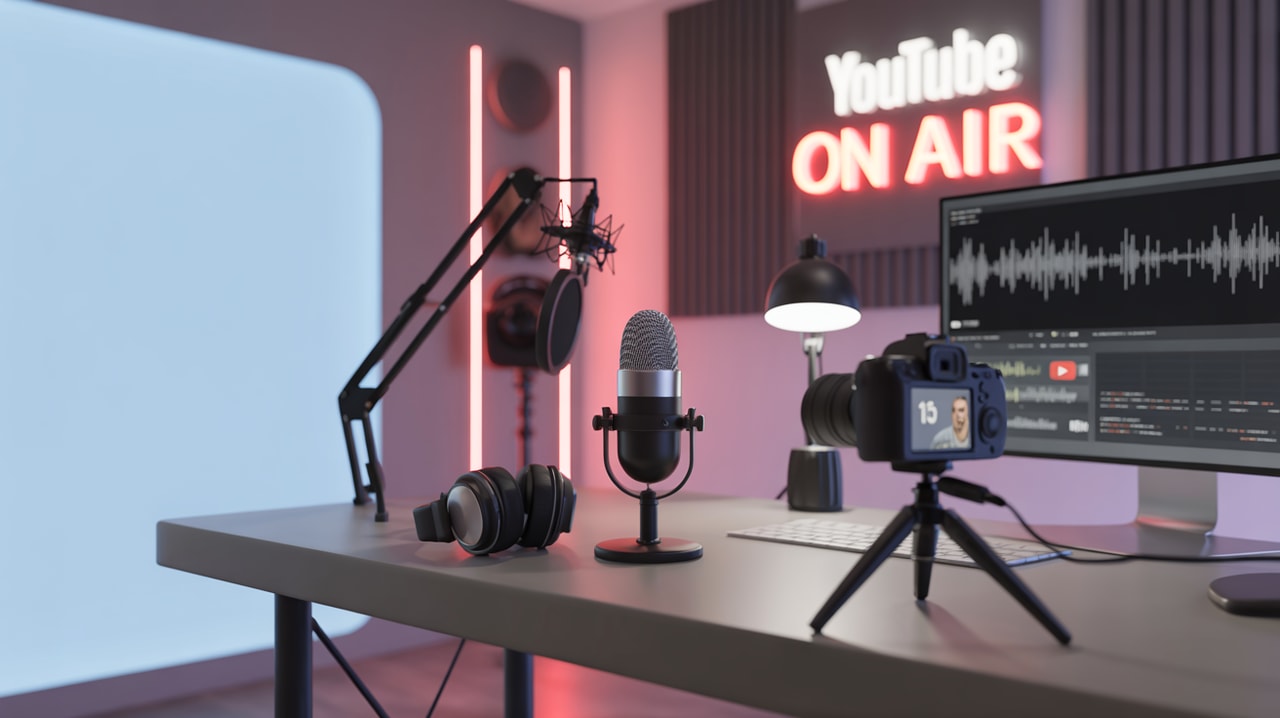
Building a Professional YouTube Podcast Studio: Gear & Setup
Launching a video podcast on YouTube can be a powerful way to connect with your audience, share your expertise, and build a community. But moving from audio-only to video introduces new technical challenges. How do you achieve that polished, professional look and sound without getting bogged down in complex gear?
Many creators face a steep learning curve when choosing equipment, struggle to maintain consistent audio and visual quality across episodes, and aren't sure which gear truly aligns with their content goals. This guide will walk you through building a professional YouTube podcast studio, covering everything from essential equipment to optimizing your space for high-quality production that keeps viewers watching.
Achieving a professional video podcast doesn't require a Hollywood budget, but it does require strategic equipment choices and a thoughtful setup. As insights from successful creators show, viewers prioritize clear audio, and visual quality is heavily influenced by lighting and composition, even more so than just the camera itself.
Why Video Matters for Your YouTube Podcast
You might wonder, "Do I even need video for a podcast on YouTube?" The answer is a resounding yes, if you want to maximize your reach and engagement on the platform. While the core of a podcast is audio, YouTube is a visual medium. Providing a video component allows you to:
- Reach a wider audience: People searching on YouTube for your topic will find your video podcast.
- Increase engagement: Visuals keep viewers hooked. Seeing your expressions, guest reactions, and any visual aids makes the content more dynamic.
- Build a stronger connection: Viewers feel more connected to you and your guests when they can see you.
- Repurpose content: Easily create clips for shorts, social media, and other platforms.
Think of the video not just as a recording of your audio podcast, but as a complementary element that enhances the viewer experience specifically for the YouTube platform.
Essential Gear for Your YouTube Podcast Studio
Building your studio setup can feel overwhelming with the sheer number of options available. Let's break down the key equipment categories you'll need to consider.
Microphones: Prioritizing Crystal-Clear Audio
As seasoned creators emphasize, audio quality is paramount for podcasts. Viewers will tolerate less-than-perfect video if the audio is excellent, but poor audio can quickly lead to viewers clicking away.
- What microphone is best for a YouTube podcast? The "best" microphone depends on your budget, setup, and the number of participants.
- Dynamic Microphones: These are great for capturing rich vocal tones and rejecting background noise, making them ideal for untreated rooms. Popular options often recommended by experienced podcasters include the Shure MV7 or the classic Shure SM7B. The newer Shure SM7DB includes built-in pre-amplification, simplifying your audio chain. The Rode Podcaster is another solid dynamic option.
- Condenser Microphones: These are more sensitive and capture a wider frequency range, excellent for detailed audio in acoustically treated spaces.
- Lavalier Microphones: Small, clip-on mics that are discreet and offer consistent audio quality, especially for multiple speakers. Wireless dual packs are available, and some can plug directly into cameras or smartphones.
- USB vs. XLR: USB microphones are convenient for simple setups, plugging directly into a computer. XLR microphones require an audio interface or mixer but offer more flexibility and often higher audio quality potential. For a professional multi-mic setup, XLR is the standard.
Recommendation: For a professional YouTube podcast, investing in good quality dynamic microphones with XLR connections is highly recommended for their noise rejection and warm vocal tone.
Cameras: Capturing Engaging Visuals
While audio is king, video quality is crucial for YouTube. You don't necessarily need the most expensive cinema camera to start.
- Your Smartphone: Modern smartphones have excellent cameras and can be a great starting point, especially with good lighting.
- Webcams: High-quality webcams offer convenience for desktop setups.
- Mirrorless or DSLR Cameras: These provide the best image quality, depth of field (blurry background), and flexibility with interchangeable lenses.
Setting up multiple cameras: For a dynamic video podcast with multiple hosts or guests, multiple camera angles are key.
- Two-Camera Setup: A common setup is one camera on each speaker.
- Three-Camera Setup: One camera on each speaker, plus a wider shot covering both.
- Connecting Multiple Cameras: You'll need a way to bring these camera feeds into your computer. This typically involves:
- Capture Cards: Devices that convert camera output (HDMI) into a signal your computer recognizes via USB. You'll need one capture card per camera.
- Video Switchers: Hardware switchers allow you to switch between multiple camera feeds in real-time during recording or live streaming. Software solutions like OBS or vMix can also handle multi-camera switching using capture cards.
Recommendation: Start with what you have, focusing on lighting and composition first. If upgrading, consider a mirrorless or DSLR for primary shots and potentially use a high-quality webcam or even a second smartphone with a capture device for additional angles.
Audio Interfaces & Mixers: Managing Your Sound
If you're using XLR microphones, you'll need an audio interface or mixer to connect them to your computer and control levels.
- Audio Interfaces: Typically have 1-4 microphone inputs and convert the analog audio signal to digital for your computer.
- Mixers: Offer more inputs, physical faders for easier level control, and sometimes built-in effects or processing.
- Mixer-Recorders: Some mixers also have built-in recording capabilities, allowing you to record directly to an SD card, providing a backup or alternative recording method.
Recommendation: For a multi-person podcast, a mixer with enough XLR inputs for all your microphones is essential. This allows you to adjust each person's audio level independently for balanced sound.
Lighting: The Key to Professional Video
good lighting can elevate even a basic camera setup. Avoid relying solely on overhead room lights, which can create harsh shadows.
- Key Light: The main light source, typically positioned slightly to the side and in front of your subject. A softbox or diffusion can create softer, more flattering light.
- Fill Light: Placed on the opposite side of the key light, this light reduces shadows created by the key light. It should be less intense than the key light.
- Back Light (Hair Light): Positioned behind the subject, this light helps separate them from the background, adding depth.
- Ring Lights: Simple, affordable lights that provide soft, even light and appealing catchlights in the eyes. Good for solo setups.
Recommendation: Start with at least one good key light. Two- or three-point lighting (key, fill, and sometimes back) will give you the most professional results. Position yourself near a window during the day for natural light, or invest in affordable LED panel lights.
Studio Design & Optimization: Creating Your Space
Your physical environment plays a significant role in both audio and video quality.
- Acoustics: Hard surfaces cause echoes and reverb, making audio sound unprofessional. Treat your space by adding soft materials like acoustic panels, blankets, rugs, and even furniture. Recording in a smaller room with more soft furnishings is often better than a large, empty space.
- Background: What's behind you matters for video. Aim for a clean, uncluttered background that is visually appealing but not distracting. Adding a few intentional elements like plants, artwork, or shelving can enhance the look. Ensure the background isn't too bright or too dark compared to your subject.
- Dedicated Space: If possible, designate a specific area for filming. This allows you to keep equipment set up, saving significant time and ensuring consistency between recordings. Even a corner of a room can work.
Recommendation: Prioritize acoustic treatment to improve audio. For visuals, focus on creating an appealing, consistent background that complements your content.
Equipment Selection & Justification
Choosing the right equipment means aligning your gear with your content goals and budget.
- Content Style: Are you a solo host, interviewing guests remotely, or hosting multiple people in person? This dictates the number of microphones and camera setups you'll need.
- Budget: Start with essential, quality pieces (especially a good microphone) and expand as your channel grows and budget allows. It's better to buy one good piece of gear than several cheap ones.
- Ease of Use: Consider your technical comfort level. Some equipment is more complex to set up and operate than others.
Addressing Misalignment: One common pain point is choosing gear that doesn't fit your needs. Don't buy an expensive cinema camera if your room acoustics are terrible – your audio will still sound bad. Prioritize based on the biggest impact: audio first, then lighting, then camera.
Production Quality Enhancement
Beyond the core gear, several factors contribute to overall production quality.
- Consistent Setup: Once you have a setup that works, maintain it. Consistent camera angles, lighting, and audio levels across episodes create a professional feel.
- Monitoring: Use headphones while recording to monitor your audio and catch any issues (like background noise or clipping) in real-time.
- Recording Software: Use reliable software like OBS, Streamlabs, or dedicated recording software that came with your camera or interface.
- Editing: Learn basic editing to clean up audio, color correct video, add graphics, and sync multiple camera angles and audio tracks.
- File Management: Develop a system for organizing your recordings to streamline the editing process.
Case Study: Optimizing Workflow for a Niche Podcast (Imagined)
Consider a hypothetical history podcast channel, "Echoes of the Past," that wants to transition to video on YouTube. Initially, the host used a USB microphone and a webcam in a spare bedroom. The audio had noticeable echo, and the video was flat and poorly lit.
Recognizing the need for a more professional setup to attract and retain viewers in the competitive history niche, the host made strategic upgrades:
- Audio First: Invested in two Shure MV7 dynamic microphones and a small audio interface, significantly reducing room echo and improving vocal clarity.
- Lighting Improvement: Added two affordable LED panel lights with diffusion, creating soft, even lighting that made the host and guest look much better on camera.
- Camera Upgrade: Switched from a webcam to a mirrorless camera for the host's main shot, providing better image quality and a pleasing blurry background (bokeh). Continued using a high-quality webcam for the remote guest's feed.
- Acoustic Treatment: Added acoustic foam panels to the walls behind the recording area and placed a thick rug on the floor to further dampen echo.
- Streamlined Setup: Created a dedicated recording corner with the lights, microphones, and camera permanently set up, drastically cutting down setup time for each episode.
By prioritizing audio and lighting before a major camera upgrade and optimizing the recording space, "Echoes of the Past" achieved a significant improvement in production quality. This led to increased viewer retention and positive comments on the professional look and sound, demonstrating how targeted upgrades can yield substantial results.
Leveraging Tools for Planning and Optimization
Planning your content and understanding what resonates with your audience is just as important as your gear. Tools like Subscribr can assist in this process.
Before you even hit record, using a platform like Subscribr's Research Assistant can help you explore trending topics in your niche and analyze successful content formats. While not directly tied to setting up your physical studio gear, understanding audience demand and competitor strategies informs the type of content you'll create, which in turn can influence your setup needs (e.g., needing multiple mic inputs for interviews).
Once your studio is set up and you're publishing videos, Subscribr's Channel and Video Intel features can help you analyze your video performance, identify which episodes are resonating most with your audience, and understand key metrics like view duration and engagement. This data-driven approach allows you to continually refine both your content strategy and identify if any technical aspects of your setup might be hindering performance (e.g., consistently low view duration might indicate audio or video issues).
Conclusion: Building Your Professional Podcast Studio
Building a professional YouTube podcast studio is an investment in your content's future. By prioritizing clear audio with quality microphones, enhancing visual appeal through effective lighting and composition, and optimizing your physical space, you can create a setup that produces high-quality video podcasts consistently.
Start with the essentials, learn your gear, and make strategic upgrades as you grow. Addressing the technical complexities head-on ensures you can focus on what truly matters: delivering valuable, engaging conversations to your audience on YouTube. With the right gear and a thoughtful setup, your video podcast can stand out and help you build a dedicated community.


