

Ready to get your next 10,000 subscribers?
Join thousands of creators who use Subscribr to create faster, better YouTube videos.

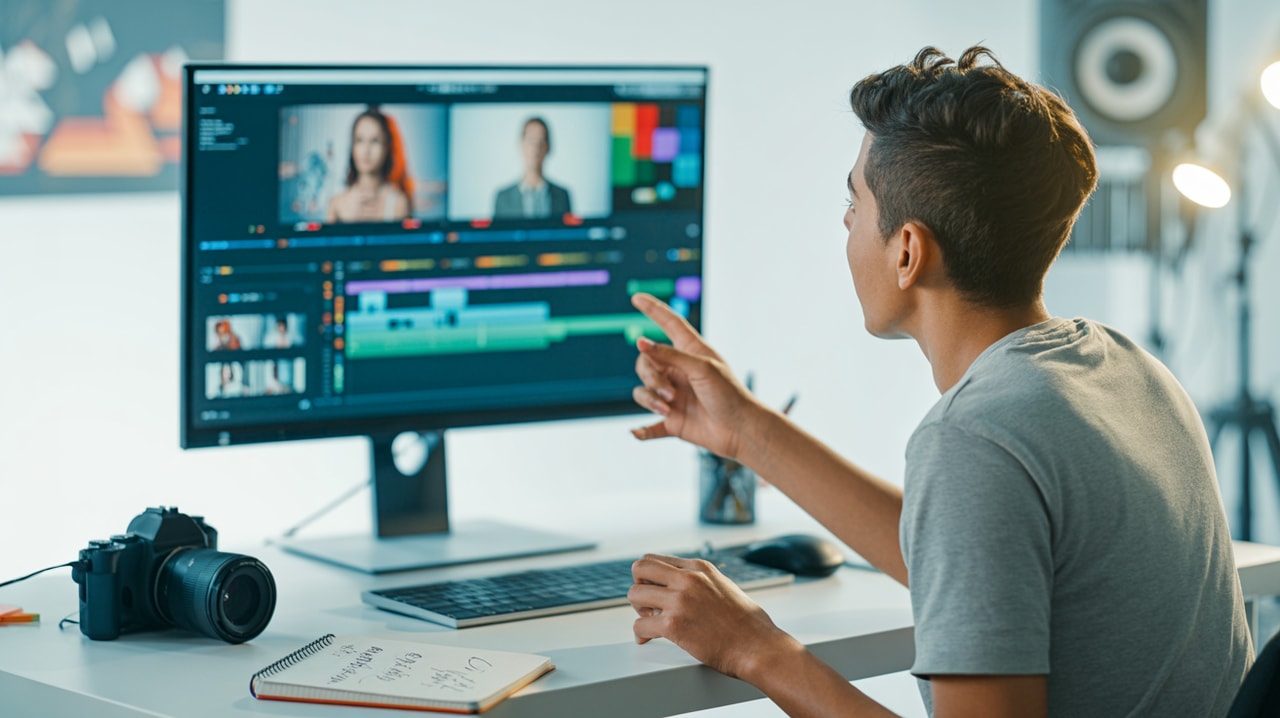
My Editing Takes Forever! A Faster YouTube Video Editing Workflow
You’ve spent hours planning, filming, and maybe even scripting your latest YouTube video. You’re finally ready to put it all together, you open your editing software... and suddenly, hours vanish. The editing process feels like a black hole, sucking up all your time and energy. You're stuck asking: "How can I speed up my video editing?" and "What is a good workflow for editing YouTube videos?" You're not alone. Many creators find the editing phase to be the most tedious, complex, and lengthy part of the entire process. But it doesn't have to be a perpetual time sink.
Implementing a streamlined, efficient workflow is the key to cutting down your editing time significantly without sacrificing the quality your audience expects. This guide will walk you through proven strategies to optimize your video production, helping you reclaim precious hours and make editing a less daunting task.
Why Workflow Optimization is Your Editing Secret Weapon
Think of your editing process as a factory line. If one station is disorganized or slow, the entire production grinds to a halt. Workflow optimization is about making every step of that line as efficient as possible. It’s not just about learning keyboard shortcuts (though those help!); it's about establishing habits and systems that minimize wasted time and effort from the moment you finish filming to the moment you hit publish.
An optimized workflow helps you:
- Reduce time investment: The most obvious benefit – spending less time staring at a timeline.
- Combat tedium: A clear process feels less overwhelming than a chaotic one.
- Maintain quality: Believe it or not, sometimes over-editing can hurt a video. An efficient workflow helps you focus on the essential edits that enhance your story and message.
- Increase output: Faster editing means you can potentially create and publish more content consistently.
So, how do you build this magical, time-saving workflow? Let's break it down.
Phase 1: Pre-Editing - The Foundation of Speed
Efficiency in editing starts before you even open your software. Preparation is crucial.
1. Plan Your Edit During Production
The best way to speed up editing is to make the edit as easy as possible while filming.
- Shoot with the edit in mind: As you're filming, think about how the shots will connect. Avoid unnecessary takes if you know you got the right one. Pause between different thoughts or segments to create clear separation points in your footage.
- Slating or Verbal Cues: If you have multiple takes of the same thing, give a quick verbal cue before each one (e.g., "Take 1," "Take 2"). This makes identifying the best take lightning fast in editing.
- Minimize B-roll Chaos: Know what B-roll you need and shoot it intentionally. Don't just film random things hoping they'll be useful.
2. Organize Your Footage (Before Importing!)
This is non-negotiable. Dumping all your raw footage into one folder is a recipe for disaster and wasted time searching.
- Create a project folder: Have one main folder for each video project.
- Subfolders are your friend: Inside the project folder, create subfolders for
Raw Footage,Audio,Music,Graphics,Exports, etc. - Rename files: Give your clips descriptive names while offloading them (e.g.,
Intro_Take1,Explainer_SegmentA,Broll_ProductShot). This takes a few extra minutes initially but saves hours later.
Tools like Subscribr's Research Assistant can even help in the pre-production phase by allowing you to organize your initial research, gather transcripts from other videos for inspiration, and plan your content structure before you even pick up your camera. Having a clear plan and organized assets makes the editing process significantly smoother.
3. Create a Simple Outline or Paper Edit
Before you start cutting, have a rough idea of the video's structure. You don't need a frame-by-frame script, but a basic outline of the key segments and the order they should appear will guide your editing and prevent aimless cutting. Some creators even do a "paper edit" – writing down the timecodes of good takes or key moments from their raw footage and arranging them into a rough sequence on paper or a document.
Phase 2: The Editing Bay - Cutting with Purpose
Now you're in your editing software. This is where the magic happens, but also where time can slip away if you're not disciplined.
1. Set a Strict Time Limit
As suggested by YouTube strategy experts, impose a time limit on your editing sessions. "While editing can easily expand to fill available time, setting a strict limit forces efficiency." Decide beforehand: "I will spend no more than X hours editing this video." This forces you to make decisions faster and focus on what's truly essential. You'll be surprised how much faster you work when you know the clock is ticking.
2. Use Simple, Efficient Software
You don't always need the most complex, feature-rich editing suite. For many YouTube videos, especially if you're just starting out or prioritizing speed, simpler tools can be more than sufficient. Using your phone, iPad, or basic desktop software might be faster than grappling with advanced features you don't need. Focus on tools known for efficiency features.
3. Master the Basics & Use Keyboard Shortcuts
This sounds obvious, but truly mastering the core functions of your chosen software is fundamental. Learn the keyboard shortcuts for your most frequent actions (cut, copy, paste, ripple delete, zoom, etc.). This keeps your hands on the keyboard and off the mouse, shaving off seconds that add up to minutes, then hours, over an entire edit.
4. Leverage Templates and Presets
Repetitive tasks are time killers. Do you use the same intro/outro sequence? Do you apply the same color correction or audio effects to every video?
- Editing Templates: Create project templates in your software with your standard sequence settings, audio tracks labeled, and even intro/outro placeholders ready to go.
- Presets: Save presets for effects, text styles, color grades, and audio filters. Instead of manually adjusting settings every time, apply your saved preset in one click. This is a huge time saver, especially for consistent branding.
5. Automate Tasks (Like Subtitles)
Manual tasks like typing out subtitles can take ages. Utilize features within your editing software (like Premiere Pro or DaVinci Resolve) or external tools that offer automatic subtitling. This technology has gotten incredibly accurate and can save you hours per video.
6. Focus on "Good Enough" (Seriously)
This is perhaps the hardest tip to embrace, but according to editing efficiency experts, trying to make every single edit absolutely perfect is a major time sink. "Understand that, generally, nobody except the editor cares about achieving absolute perfection. If an edit is good enough and passes quality standards, it will be fine."
Ask yourself: Does this cut really need to be frame-perfect? Does this color grade really need tweaking for another 20 minutes? Often, the answer is no. Focus on clarity, flow, and impact. Minor imperfections are usually unnoticeable to the viewer and are a small price to pay for getting your video finished and published.
Phase 3: Post-Editing - The Final Sprint
You've made your cuts, added your music and graphics. Now for the final steps.
1. The Review Process - Be Efficient
Watching your video back to catch errors is essential, but don't fall into the trap of endlessly rewatching and tweaking.
- Watch at a faster speed: Most editing software allows you to play back at 1.5x or 2x speed. This helps you catch pacing issues and errors quickly without dwelling on every second.
- Know what you're looking for: Watch specifically for continuity errors, audio pops, on-screen text errors, or missing B-roll, rather than just generally looking for things to change.
2. Optimize Before Export
Before you hit export, ensure everything is in place for YouTube. This includes:
- Final Audio Mix: Do a quick pass to ensure audio levels are consistent and clear.
- Color Correction/Grading: Apply your saved preset or do a quick, simple pass. Don't get lost in endless color tweaking unless it's critical to your video's message or brand.
3. Efficient Export Settings
Save export presets for your standard YouTube upload settings (resolution, frame rate, codec). This prevents you from having to manually select settings every single time, reducing the chance of errors and speeding up the final rendering process.
How Long Should It Take to Edit a YouTube Video?
There's no single answer to this, as it depends heavily on:
- Video Length: A 5-minute video takes less time than a 20-minute documentary.
- Video Style: A talking-head video with minimal cuts is faster to edit than a complex vlog with lots of B-roll, graphics, and jump cuts.
- Your Skill Level: Beginners will naturally take longer than experienced editors.
- Footage-to-Final-Video Ratio: If you shot 2 hours of footage for a 10-minute video, it will take longer to sift through than if you shot 30 minutes.
However, with an optimized workflow, many creators aim for an editing time that is a fraction of the final video length. Some highly efficient creators can edit a 10-minute video in 1-2 hours. Others might take 4-8 hours for the same length, depending on complexity. The key is to continuously look for ways to reduce that time for your specific video style without sacrificing the engagement and clarity that are crucial for YouTube success. Focus on improving your own editing speed over time by implementing the strategies above.
When to Consider Outsourcing
If you've optimized your workflow to the absolute maximum and editing is still consuming an unsustainable amount of time, or if your channel's growth is generating revenue, it might be time to consider outsourcing. As one strategy suggests, outsourcing can be the "most significant way to speed up your workflow once your channel has some capital." This allows you to focus on other high-leverage activities like scripting, filming, and strategic planning.
Tools and Resources for a Faster Workflow
Investing in the right tools can dramatically improve your editing speed and efficiency.
- Efficient Editing Software: Choose software that matches your needs and skill level, prioritizing features like good organization tools, keyboard shortcut customization, and stable performance.
- Templates and Assets: Use or create reusable lower thirds, intro/outro sequences, and motion graphic templates.
- Subscribr: As a comprehensive platform for creators, Subscribr helps optimize your entire workflow, not just editing. Use features like the Research Assistant for pre-production planning, leverage insights from Channel and Video Intel to understand what kind of pacing and structure works in your niche (informing your editing decisions), and utilize AI Script Writer and Smart YouTube Script Writer to get a head start on structuring your content, which makes the editing process much more straightforward. Subscribr's tools can help you refine your video ideas and structure before you edit, saving significant time in post-production. You can even use Subscribr's YouTube Automation tools to streamline content planning and optimization after the edit is complete, like generating descriptions and tags.
- Online Courses: Investing in a course specifically focused on efficient editing techniques for your software can unlock new levels of speed and skill.
Conclusion
Editing doesn't have to be the bottleneck in your YouTube journey. By focusing on workflow optimization, adopting smart habits in pre-production, being disciplined in the editing bay, and leveraging efficient tools and strategies, you can significantly reduce the time you spend editing. Set time limits, organize your assets, use templates, automate repetitive tasks, and learn to embrace "good enough" over unattainable perfection. Implement these strategies, and you'll find yourself with more time to create, strategize, and grow your channel, making the entire process more enjoyable and sustainable.


