

Ready to get your next 10,000 subscribers?
Join thousands of creators who use Subscribr to create faster, better YouTube videos.

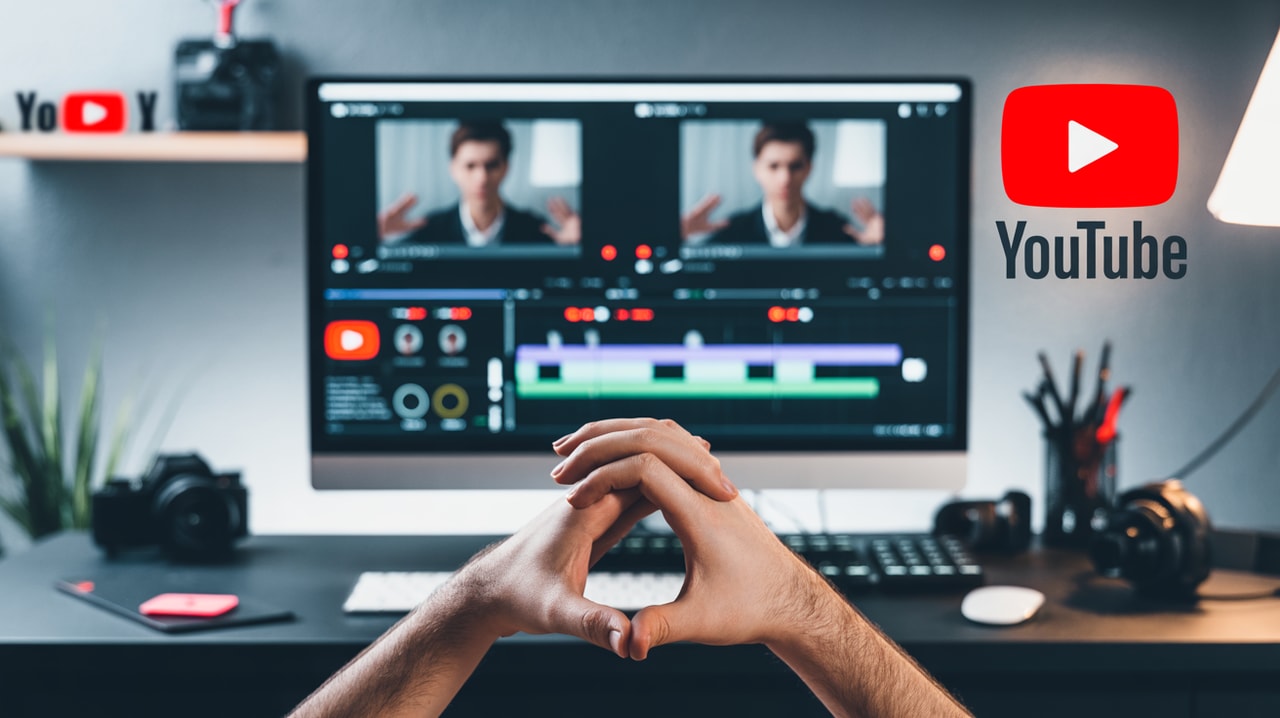
Avoid These 7 YouTube Video Editing Mistakes (Beginner Traps!)
Stepping into the world of video editing for your YouTube channel can feel like navigating a maze blindfolded. There's a steep learning curve, technical software to wrestle with, and the whole process can quickly become tedious and overwhelming. Many new creators struggle to achieve that consistent, professional quality they see in successful videos.
But what if you could sidestep the most common pitfalls? What if you knew exactly which beginner editing mistakes trip up most new YouTubers, and how to avoid them?
This guide is designed to help aspiring and new YouTubers like you master the essential video production and editing fundamentals. By focusing on key technical skills and optimizing your workflow, you can transform the editing process from a daunting task into a streamlined step towards creating high-quality content.
We'll walk through the seven most frequent video editing errors beginners make and give you actionable advice on how to fix them, ensuring your videos look polished and professional from the start.
Mistake 1: Underestimating Audio Quality
It might sound counterintuitive for a video editing guide, but one of the biggest mistakes beginners make happens before they even touch the editing software: neglecting audio quality. You could have stunning 4K footage, but if your audio is inconsistent, muffled, or noisy, viewers will click away faster than you can say "export."
Why it matters: Viewers are far more forgiving of slightly lower video quality than they are of poor audio. Bad audio makes your content hard to understand and creates a frustrating viewing experience. Inconsistent audio levels are particularly jarring.
How to fix it:
- Prioritize a microphone: If you have a limited budget, invest in a decent external microphone before upgrading your camera. Even an affordable lavalier mic or a simple USB microphone can make a world of difference compared to your camera or phone's built-in mic.
- Record clean audio: Record your audio in a quiet environment. Be mindful of background noise like fans, traffic, or echoes.
- Sync audio properly: If you record audio separately from your video, make sure to sync it accurately in your editing software. Clapping at the beginning of your recording is a simple visual and auditory cue that makes syncing much easier.
- Level your audio: Use the audio mixer or gain controls in your editing software to ensure all your audio tracks (voiceover, music, sound effects) are at consistent and appropriate levels. Avoid letting background music overpower your voice.
Answering the question: "Why is my audio inconsistent in my edited videos?" Often, this is due to not properly leveling different audio sources (microphone, screen recording, music) or recording in environments with fluctuating background noise. Establishing a consistent recording setup and diligently checking and adjusting audio levels in editing are key.
Mistake 2: Leaving in Excessive Filler & Long Pauses
Beginners often feel the need to include every second of footage they shot. This leads to videos filled with awkward pauses, unnecessary "ums" and "uhs," long reaction shots, or irrelevant tangents that slow down the pace.
Why it matters: Viewer attention spans on YouTube are short. Every moment of silence or irrelevant content gives someone a reason to click away. A video that drags feels boring and unprofessional.
How to fix it:
- Be ruthless with cuts: Go through your footage and cut out every single unnecessary pause, stutter, or moment that doesn't add value. The goal is a tight, engaging pace.
- Trim reactions: If you include shots of yourself reacting, trim them down to just the essential moment. A five-second shot of you laughing might feel natural while filming, but it can feel like an eternity to a viewer.
- Focus on the core message: Does this clip move your video's story or message forward? If not, consider cutting it.
This practice directly addresses the feeling that editing is tedious and lengthy. By being decisive with cuts and removing unnecessary footage early in the process, you make the overall editing timeline shorter and more efficient.
Mistake 3: Over-Editing or Adding Edits Without Purpose
Just because your editing software has a thousand transitions and effects doesn't mean you need to use them all. Beginners often fall into the trap of adding flashy effects, complex animations, or excessive transitions that distract from the content itself.
Why it matters: Editing should enhance your content, not become the content. When edits draw attention to themselves rather than supporting your message or story, they pull the viewer out of the experience. Excessive editing can be overwhelming and make your video look amateurish, not professional.
How to fix it:
- Editing serves the content: Ask yourself: Does this edit, transition, or effect make the video clearer, more engaging, or easier to understand? If the answer isn't a clear yes, leave it out.
- Keep it simple: Often, a simple cut is the most effective transition. Use other transitions sparingly and intentionally.
- Focus on clarity: Use edits to highlight key information, emphasize points, or smooth the flow between ideas, not just because you can.
This mistake often stems from the steep learning curve of editing software. Faced with many options, beginners might overuse features without understanding their purpose. By understanding that editing is a tool for storytelling and clarity, you can approach the software with a clearer goal.
Mistake 4: Using Distracting Music or Ignoring Sound Effects
Background music and sound effects are powerful tools for setting mood, building energy, and emphasizing moments. However, beginners often choose inappropriate music, set the volume incorrectly, or completely neglect sound effects.
Why it matters: Random or ill-fitting music can clash with your video's tone. Music that is too loud distracts from your voiceover. Skipping sound effects means missing opportunities to add polish and impact (like whooshes for transitions or subtle sounds for on-screen text).
How to fix it:
- Choose music that fits: Select background music that complements your video's mood and pace. Don't just grab the first royalty-free track you find.
- Set music volume correctly: Background music should be subtle. Lower the volume significantly during voiceovers or dialogue so it doesn't compete. Fade music in and out smoothly.
- Use sound effects intentionally: Incorporate sound effects (like subtle hits, rises, or whooshes) to punctuate actions, text reveals, or transitions. This adds a layer of professionalism and can make your video feel more dynamic. You can find many copyright-free sound effects online.
Effective use of music and sound effects is part of developing your Technical Skill Development in editing, adding another layer to creating engaging content.
Mistake 5: Awkward Transitions and Jump Cuts
While simple cuts are often best, poorly executed cuts or transitions can be jarring. Frequent, unmotivated jump cuts (cuts between two very similar shots that make the subject appear to "jump") are particularly common in beginner videos.
Why it matters: Awkward transitions disrupt the viewing experience. Jump cuts can look unprofessional and make your video feel choppy.
How to fix it:
- Motivated cuts: Make cuts on action or when there's a clear shift in topic or perspective. This makes the edit feel natural.
- Use B-roll: Cover jump cuts or transitions between different topics with B-roll footage (relevant images, screen recordings, or alternative angles). This adds visual interest and smooths the flow.
- Simple transitions: If you need a transition other than a straight cut, use simple, clean options like dissolves or fades sparingly. Save more stylized transitions for specific creative purposes.
- Answering the question: "How can I make my cuts smoother?" The best way is often not about fancy transitions, but about when and why you cut. Cutting on action, using B-roll, and removing filler content (as mentioned in Mistake 2) are the most effective techniques for creating smooth, natural-feeling edits.
Mastering smooth cuts and transitions is a key part of Technical Skill Development in editing, contributing significantly to the overall polish of your videos.
Mistake 6: Lack of a Structured Editing Workflow
Diving into editing without a plan can lead to hours of aimless clicking, feeling overwhelmed, and a much longer, more tedious process than necessary. Beginners often just start cutting without organizing footage or having a clear sequence in mind.
Why it matters: A disorganized approach makes the editing process inefficient and increases the likelihood of missing important steps or making errors. It directly contributes to the feeling that editing is tedious, complex, and lengthy.
How to fix it:
- Import and Organize: Start by importing all your footage and organizing it logically in your editing software (e.g., by type, date, or scene).
- Sync Audio: If using external audio, sync it up early.
- Create a Rough Cut: Assemble the main pieces of your video in sequence, focusing only on the overall story or message flow. Don't worry about perfection yet. Cut out major filler here.
- Refine and Polish: Go back through the rough cut, tightening edits, adding B-roll, music, sound effects, and basic text or graphics.
- Color Correction/Grading: Adjust the color and look of your footage.
- Final Audio Mix: Do a final pass on all audio levels and add any necessary audio effects.
- Export: Export your final video in the correct settings for YouTube.
Following a structured workflow transforms the editing process from a chaotic free-for-all into a manageable project, directly addressing the tedious and lengthy pain point.
Mistake 7: Skipping the Critical Review Process
You've spent hours editing, and you're finally done! The last mistake is exporting immediately without properly reviewing your final edit.
Why it matters: It's easy to become blind to errors when you've been staring at the same footage for a long time. You might miss a typo in text, an audio pop, a misaligned clip, or a section that still drags. Skipping review means publishing a video with preventable mistakes.
How to fix it:
- Watch the full video: Watch your finished edit from beginning to end, preferably on a different screen or device than you edited on. Pay close attention to pacing, audio consistency, and visuals.
- Take notes: Keep a notepad or document open and jot down timestamps and notes of anything that needs fixing.
- Get external feedback: If possible, have someone else watch your video and give you feedback before you publish. A fresh pair of eyes will often catch things you missed.
This final review step is crucial for ensuring consistent, professional-level video and audio quality and directly contributes to the overall polish of your content.
Mastering the Fundamentals: Overcoming Challenges
Avoiding these common editing mistakes is key to overcoming the challenges beginners face. The steep learning curve becomes less daunting when you focus on mastering essential techniques like clean cuts, audio leveling, and using B-roll, rather than getting lost in complex effects.
The tedious, complex, and lengthy nature of editing is significantly reduced by adopting a structured Workflow Optimization strategy. Knowing the steps and tackling them in order makes the process far more manageable and efficient.
And finally, achieving consistent, professional-level video and audio quality is a direct result of paying attention to the fundamentals discussed here – prioritizing audio, maintaining good pacing, using edits purposefully, and implementing a review process. This focus on Technical Skill Development is foundational for success.
How Subscribr Helps Streamline Your Workflow
While mastering editing software takes practice, having a solid plan before you even start editing can make the process much smoother and more focused. This is where tools like Subscribr come in.
Instead of staring at your raw footage wondering where to begin, Subscribr helps you with the crucial steps that happen before editing: research, planning, and scriptwriting.
- Idea Validation & Research: Use Subscribr's Research Assistant and Channel/Video Intel features to understand what's working in your niche and plan content your audience actually wants. Starting with a strong concept means you shoot footage with a clearer purpose, making editing more straightforward.
- Structured Planning: Subscribr's Frame Development helps you define your video's angle, goals, and target audience before you write. This clarity translates directly into a more focused editing process, as you know exactly what message you need to convey.
- Efficient Scriptwriting: Using Subscribr's AI Script Writer or building your script within the platform ensures you have a clear roadmap for your video. Editing becomes much simpler when you're working from a well-structured script, as you know the sequence of ideas and what footage you need for each section. You can even use features like Chat-to-Script conversion to quickly turn brainstorming into an outline, saving time in the editing bay.
By using Subscribr to nail down your content strategy, research, and script before editing, you minimize the guesswork and disorganization that contribute to those common beginner mistakes, making the editing process itself less tedious and more efficient. It's about optimizing the entire video production workflow, not just the editing stage.
The Path to Professional Quality and Growth
Avoiding these common editing traps is more than just about making pretty videos; it's about creating content that keeps viewers watching, builds your audience, and ultimately helps you grow your channel. Higher quality videos lead to increased watch time, better engagement, and more subscribers.
As you improve your editing skills and workflow, you'll find the process becomes less frustrating and more creative. This mastery of video production is a key step on the path From Beginner to Pro.
For new creators, focusing on these fundamental editing skills is a critical investment. Consider exploring foundational editing courses that teach good habits from the start. Building a strong base in technical skills and workflow optimization will pay dividends as you continue your YouTube journey, opening up opportunities for monetization and long-term channel success.
Conclusion
Editing is a learned skill, and making mistakes is part of the process. However, by being aware of these seven common beginner traps – neglecting audio, leaving in filler, over-editing, poor music/SFX use, awkward cuts, lacking workflow structure, and skipping review – you can significantly accelerate your learning and improve the quality of your videos faster.
Focus on mastering the fundamentals, develop an efficient workflow, and always review your work critically. Combine strong editing skills with a solid content strategy developed using tools like Subscribr, and you'll be well on your way to creating polished, professional YouTube videos that capture and keep your audience's attention.


