

Ready to get your next 10,000 subscribers?
Join thousands of creators who use Subscribr to create faster, better YouTube videos.

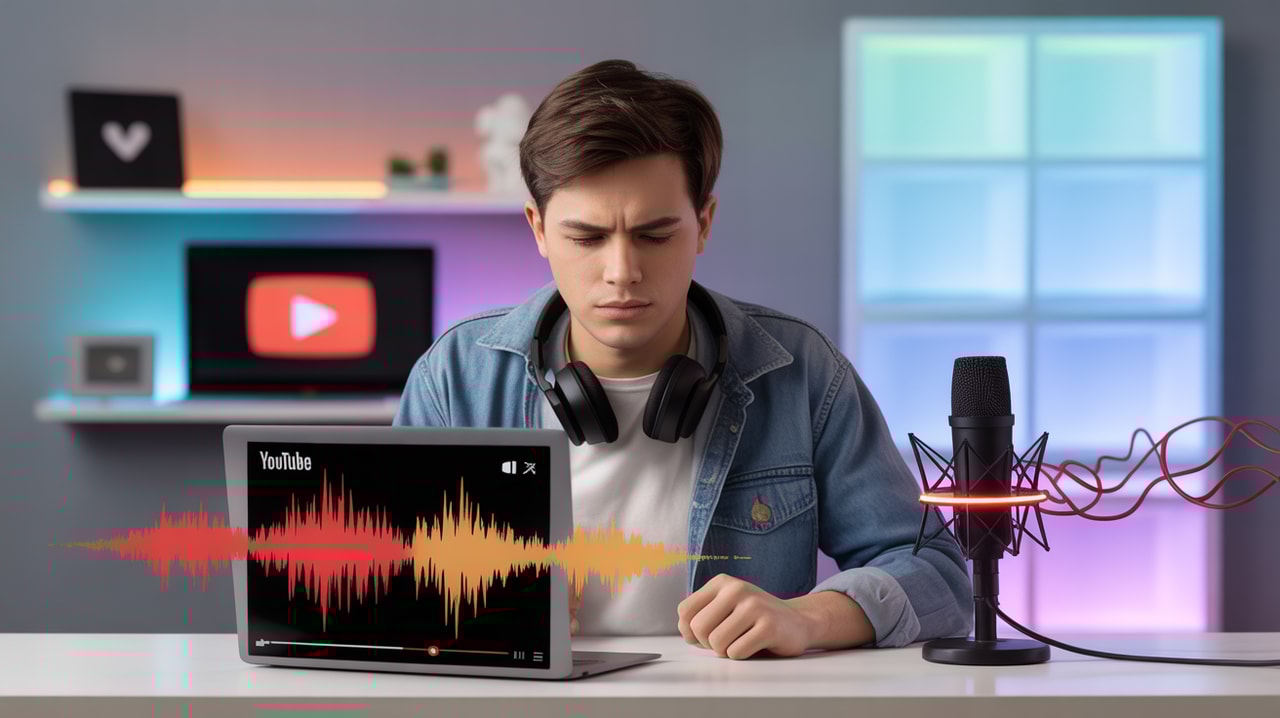
Why Is My YouTube Audio Bad? (And 5 Easy Fixes)
You've put time and effort into filming your YouTube video. The visuals look great, your topic is interesting, but when you watch it back... something sounds off. Maybe there's an annoying hum, a distracting echo, or your voice just sounds muffled and hard to hear.
Bad audio is one of the most common frustrations for new YouTubers, and it can feel incredibly discouraging. Dealing with technical issues like inconsistent sound quality or trying to figure out complex new equipment adds a steep learning curve to the already challenging process of creating videos.
But don't worry, you're not alone! Poor audio quality is a fixable problem, and you often don't need to buy expensive gear to make a big difference. In this article, we'll dive into why your YouTube audio might be bad and give you 5 easy, actionable fixes to improve your sound quality right now.
Why Good Audio Is Non-Negotiable on YouTube
Think about it: you can probably tolerate a slightly blurry video if the sound is crystal clear and the content is engaging. But if the audio is bad – echoey, noisy, or too quiet – you're likely to click away almost instantly, no matter how good the picture is.
YouTube strategy experts agree that audio quality is half of the viewing experience. In fact, research suggests that a significant majority of viewers – around 84% – demand clear sound and will even forgive basic video quality if the audio is good. Poor audio is a major viewer deterrent and one of the fastest ways to lose watch time and retention.
Fixing your audio isn't just about sounding professional; it's essential for keeping people engaged and watching your videos all the way through. This directly impacts your channel's growth and potential for monetization.
Common Culprits: Why Your Audio Sounds Bad
Before we fix it, let's understand why your audio might be suffering. Identifying the source of the problem is the first step to finding the right solution.
Your Recording Environment is Working Against You
This is perhaps the most overlooked factor, especially for beginners filming at home.
- Echo and Reverb: Hard, flat surfaces like bare walls, floors, and ceilings bounce sound waves around, creating an echoey or "roomy" sound. Bathrooms and empty rooms are notorious for this. This makes your voice sound distant and less clear.
- Background Noise: Everyday sounds that you might not even notice in person can be picked up clearly by a sensitive microphone. This includes humming from electronics (computers, refrigerators), traffic outside, construction sounds, pets, or even just the ambient noise of your room. These noises compete with your voice and make it harder for viewers to focus.
Microphone Placement or Type Isn't Right
Even a decent microphone won't sound good if it's not used correctly.
- Too Far Away: The further your microphone is from your mouth, the more it will pick up room echo and background noise instead of your voice. Your voice will sound weak and distant.
- Built-in Camera/Phone Mics: While convenient, the microphones built into cameras and phones are designed to pick up sound from all directions (omnidirectional) and are usually quite far from the subject. This makes them highly susceptible to room noise and echo. They also often lack the quality to capture the richness and clarity of your voice.
- Muffled Sound: If your microphone sounds muffled, it could be due to it being covered (like being inside clothing if it's a lavalier mic), being too close and getting plosives (P and B sounds popping), or simply being a low-quality microphone that doesn't capture the full range of your voice frequencies clearly.
Inconsistent Recording Technique
How you record matters just as much as what you record with.
- Varying Distance: Moving closer to or further away from the microphone while talking will cause your audio levels to jump up and down, creating an inconsistent and distracting listening experience.
- Not Monitoring Audio: Recording without listening to what the microphone is actually picking up is a common mistake. You might not realize there's a terrible hum or that your levels are too low until you get to editing.
Mistakes in Post-Production
Sometimes the recording is okay, but issues creep in during editing.
- Improper Levels: Audio that is too quiet forces viewers to turn up their volume, only to be blasted by other sounds. Audio that is too loud (peaking or clipping) sounds distorted and harsh.
- No Noise Reduction: Failing to remove or reduce noticeable background noise in editing leaves distractions in your final video.
- No Enhancement: Simple edits like equalization (EQ) can make your voice sound clearer and more present, but skipping this step leaves your audio sounding flat.
5 Easy Fixes to Improve Your YouTube Audio
Now that we know why your audio is bad, let's look at simple, actionable steps you can take to make it sound great. You don't need a professional studio or expensive software to see significant improvements.
Fix 1: Optimize Your Recording Environment
You can dramatically improve your audio without buying a single piece of gear just by paying attention to where you record.
- Reduce Echo: Sound waves bounce off hard surfaces. Introduce soft materials into your recording space to absorb sound. Think upholstered furniture, carpets, curtains, blankets, pillows, or even acoustic foam panels if you want to get a bit more serious later on. Record in a room with more furniture rather than an empty one. Recording in a bedroom with a bed, carpet, and curtains is often better than a living room with hardwood floors and minimal furnishings.
- Eliminate Background Noise: Before hitting record, take a moment to listen. Can you hear the refrigerator humming? Turn it off temporarily. Is there traffic noise? Close the window. Is your computer fan loud? Try repositioning your mic or using a laptop further away. Turn off fans, air conditioners, or anything else creating a consistent noise. The quieter your recording environment is before you start, the less work you'll have to do in editing.
- Get Closer to the Source: If possible, position your camera and yourself closer together. This helps the camera's built-in mic pick up more of your voice relative to the room noise.
Addressing "How do I get rid of background noise in YouTube videos?": The best way is to prevent it from being recorded in the first place by optimizing your environment as described above. Turning off noise sources and using soft furnishings are key steps. Editing software can help reduce remaining noise, but it works best when the initial recording is clean.
Fix 2: Position Your Microphone for Clarity (or Upgrade Wisely)
Microphone technique and proximity are critical for clear audio.
- Get Close: The single most effective thing you can do, even with a basic microphone, is to get it as close to your mouth as possible without it being in the camera frame or causing distracting plosive sounds (use a pop filter or position the mic slightly to the side to avoid pops). This ensures your voice is the loudest sound the microphone picks up.
- Consider an external microphone: While you can improve built-in mic audio, an external microphone designed for voice recording will make a world of difference.
- Lavalier Microphones: These small clip-on mics attach to your clothing near your mouth. They are relatively inexpensive and get the microphone close to the source, significantly reducing room noise. You can get wired ones that plug directly into your phone or camera (make sure you have the right adapter, like a TRRS adapter for phones) or wireless systems for more freedom of movement.
- Shotgun Microphones: These are directional mics that focus on sound directly in front of them, rejecting noise from the sides and back. They can mount on top of your camera or be placed on a boom pole just out of frame above or below you. Getting the mic close on a boom pole is a common technique in professional video production.
- Ensure Compatibility: Before buying a mic, check if it's compatible with your camera, phone, or computer. Many modern mics plug directly into standard microphone inputs (3.5mm or XLR). If your device doesn't have a mic input, you might need an external audio recorder that you sync later in editing, but for beginners, direct connection is simpler.
Addressing "Why does my microphone sound muffled?" and "How can I make my voice clearer on YouTube?": A muffled sound is often due to the mic being too far away, being covered, or being a low-quality mic. Getting the microphone closer to your mouth (Fix 2) and using basic audio editing to boost clarity frequencies (Fix 4) are the primary ways to make your voice clearer. Using a dedicated external microphone designed for voice capture will also inherently provide better clarity than most built-in options.
Fix 3: Monitor Your Audio Levels While Recording
Recording at the right level is crucial to avoid distortion or being too quiet.
- Check Your Levels: Most cameras, phones (with external mic apps), and audio recorders have a visual audio meter. Before you start talking, do a test recording and watch the meter as you speak at your normal volume. You want the levels to generally stay in the green and yellow zone, peaking occasionally into the orange, but never consistently hitting the red zone. Red indicates clipping, which is digital distortion that sounds terrible and cannot be fixed in editing.
- Adjust Input Gain: Your recording device likely has a setting for microphone input level or gain. Adjust this until your voice is coming in at a healthy level (mostly green/yellow) without peaking into the red. It's generally better to record slightly too quiet than too loud and distorted.
- Listen with Headphones: If possible, plug headphones into your camera or recording device and listen while you record. This is the best way to catch background noise, hums, or level issues in real-time so you can fix them on the spot.
Fix 4: Use Basic Audio Editing to Clean Up and Enhance
Even with a great recording, a few simple edits can make your audio sound much more polished.
- Noise Reduction: Most video editing software (DaVinci Resolve, Adobe Premiere Pro, Final Cut Pro, even simpler options like CapCut or iMovie) have built-in noise reduction effects. Apply these sparingly to reduce consistent background noise like a computer hum or distant traffic. Be careful not to overdo it, as excessive noise reduction can make your voice sound robotic or unnatural. Some platforms or tools, like Descript mentioned in the strategy research, offer "studio sound" effects that can automatically clean up audio.
- Equalization (EQ): EQ allows you to adjust the volume of different frequencies in your audio. A simple EQ adjustment can make your voice sound clearer and more present. Generally, boosting frequencies in the mid-range (around 1kHz to 5kHz) can help with voice clarity, while gently rolling off low frequencies (below 100Hz) can reduce rumble orproximity effect (boominess from being too close to the mic). Look for EQ tutorials specific to your editing software.
- Normalize or Adjust Levels: Ensure your final audio levels are consistent throughout the video and are at an appropriate volume for YouTube. Most editing software has a "Normalize" function or simple volume sliders. Aim for your dialogue to be clearly audible and consistent.
Addressing "How can I make my voice clearer on YouTube?": Combining getting the microphone close (Fix 2) with strategic EQ adjustments (Fix 4) are the best ways to achieve clearer voice audio in editing. Removing background noise also helps your voice stand out.
Fix 5: Practice and Listen Back Critically
Improving audio is a skill that gets better with practice and attention.
- Listen Like a Viewer: After editing, listen to your video on different devices (phone, computer speakers, headphones) to hear how it sounds to your audience.
- Identify Problems: Pay attention to specific moments where the audio sounds bad. Was there a sudden noise? Did you move away from the mic? Was there an echo you didn't notice while recording?
- Learn from Mistakes: Use what you hear to inform your next recording. If you noticed a hum, next time try turning off the offending appliance. If your voice was echoey, add more soft materials to the room.
- Experiment: Try different microphone positions, different rooms, or different settings in your editing software. Don't be afraid to experiment to find what works best for your specific setup and environment.
Bringing It All Together for Quality Content
Mastering audio quality might seem like a technical hurdle, especially when you're also trying to plan, film, and edit your videos. But remember, focusing on clear sound is one of the most impactful things you can do to improve viewer retention and grow your channel.
Tools like Subscribr can help streamline your entire content creation workflow, from research and scriptwriting to understanding channel performance. While Subscribr's primary focus is on strategic planning and content generation with its AI Script Writer and Research Assistant, having a solid production foundation, including good audio, ensures that the high-quality content you plan is delivered effectively to your audience. Subscribr's Channel Intelligence features can help you analyze how your content is performing, and improving audio quality is a key factor that contributes to better watch time and engagement metrics you'll see in your analytics.
Investing a little time (and potentially a small amount of money for a basic external mic) in fixing your audio pays off by solving a major viewer deterrent and making your content significantly more enjoyable and professional. This directly contributes to your channel's ability to retain viewers and, ultimately, monetize effectively.
Conclusion
Bad audio is a common problem for new YouTubers, but it doesn't have to hold you back. By understanding the common causes – your environment, microphone issues, recording technique, and editing – you can implement simple, effective fixes.
Focus on optimizing your recording space to reduce echo and noise, get your microphone close to your mouth, monitor your levels while recording, use basic editing techniques like noise reduction and EQ, and continuously listen back and learn from your recordings.
By implementing these 5 easy fixes, you'll dramatically improve your YouTube audio quality, keep viewers watching longer, and create a much more professional and engaging channel. Don't let bad sound be the reason viewers click away – take action today and make your voice heard clearly!


