

Ready to get your next 10,000 subscribers?
Join thousands of creators who use Subscribr to create faster, better YouTube videos.

Feeling overwhelmed by the idea of starting a YouTube channel? You're not alone. Many aspiring creators get stuck before they even publish their first video, unsure where to start, what niche to pick, or what equipment they need.
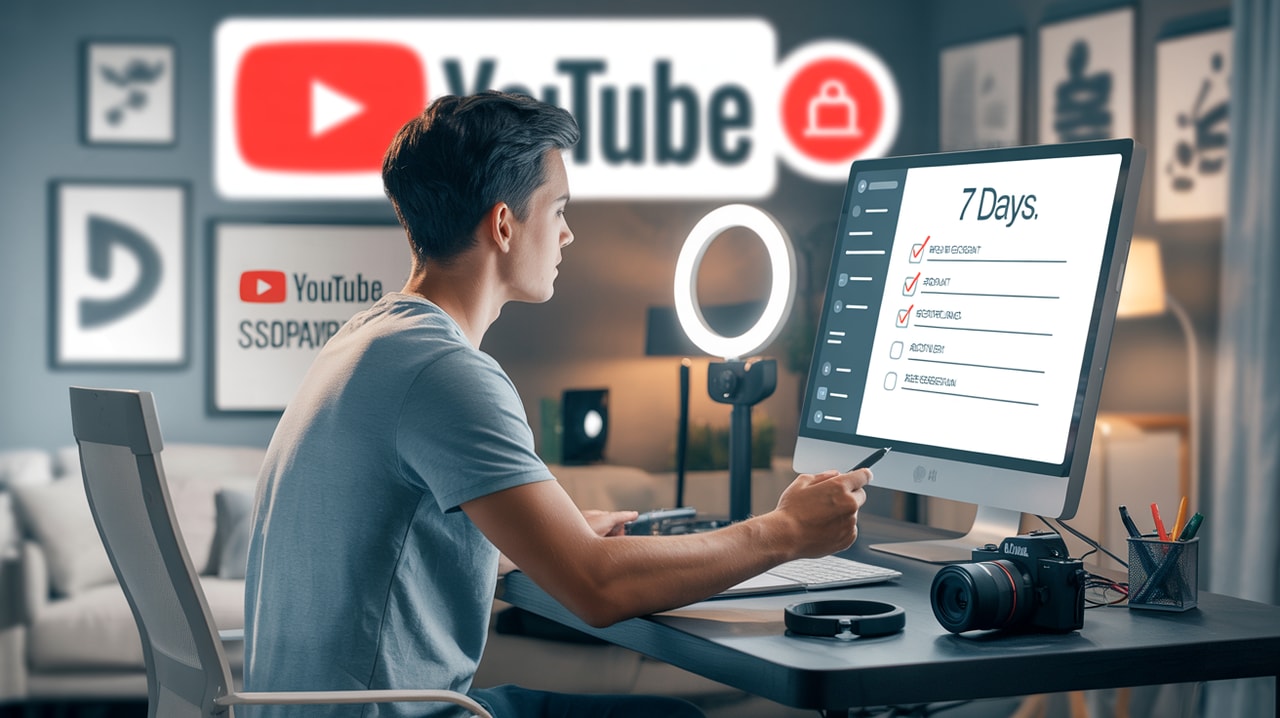
But what if you could go from overwhelmed to uploaded in just one week? This isn't about achieving viral success overnight, but about building momentum and getting your channel off the ground with a clear, actionable plan. This 7-day checklist breaks down the essential steps, helping you overcome inertia and lay a solid foundation for your YouTube journey.
By focusing on the core tasks each day, you'll systematically tackle the initial hurdles, from defining your channel's purpose to hitting publish on your first video. Ready to stop planning and start doing? Let's dive in.
Day 1: Define Your Niche and Audience
The very first step in starting your YouTube channel is figuring out who you want to serve and what you want to talk about. This is your niche. Don't skip this step – being a "meaningful specific" is far more effective for growth than being a "wandering generality."
Why Niche Down?
Choosing a specific niche helps you attract the right audience, makes your content easier to discover, and establishes you as an authority on a particular topic. Think about what you're passionate about and what knowledge, education, entertainment, or unique perspective you can offer others. Your passion will fuel your motivation over time – pick something you could realistically create content about for the next 5 years.
How to Find Your Niche:
- Identify Your Passions and Expertise: What topics genuinely excite you? What are you knowledgeable about? What problems do you enjoy solving for yourself or others?
- Research Audience Demand: Is there an audience interested in this topic on YouTube? Search YouTube for videos related to your potential niche. Look at the view counts, engagement in the comments, and how many channels are already creating content in this area. Don't fear competition; competition often proves there's a healthy audience. Your goal is to find a way to offer a unique perspective within that space.
- Assess Monetization Potential (Beyond Ads): If your goal is eventual monetization, consider if there are opportunities beyond just ad revenue. Are creators in this niche selling products, services, or using affiliate marketing successfully? This indicates a strong market even if ad revenue is initially low.
- Define Your Ideal Viewer: Who are you making videos for? Get specific. What are their demographics, interests, pain points, and goals? Understanding your target audience deeply is fundamental, as it influences every aspect of your content, from ideas to titles and thumbnails.
Action for Day 1:
- Brainstorm 3-5 potential niches based on your passions and expertise.
- Perform basic YouTube searches for each potential niche to gauge audience interest and competition.
- Select your primary niche and write a brief description (1-2 sentences) of who your channel is for and what type of content you will create.
- Describe your ideal viewer in detail.
Day 2: Channel Branding and Setup
With your niche defined, it's time to set up the basic structure and branding for your channel. This makes your channel look professional and helps viewers understand what you're about at a glance.
Choose Your Channel Name
Your channel name should ideally be relevant to your niche, easy to remember, and unique. Check if the name is available on YouTube and other social media platforms.
Design Your Visuals
Your channel art (banner) and profile picture are the first things viewers see.
- Profile Picture: Use a clear, recognizable image, often a headshot for personal brands or a logo for business/topic-focused channels.
- Channel Banner: This is your channel's billboard. It should clearly communicate your channel's topic, upload schedule (if you have one), and your channel name. Use consistent branding elements like colors and fonts.
Write Your Channel Description
Your channel description appears in the "About" section of your channel. Use this space to explain what your channel is about, who it's for, and what viewers can expect. Include relevant keywords naturally that describe your niche and content, but focus on readability and compelling language for potential subscribers.
Complete Basic Channel Settings
Go into YouTube Studio (https://studio.youtube.com/) and fill out the essential settings:
- Basic Info: Add your channel name, handle (@yourchannelname), and description.
- Channel Keywords: Add keywords relevant to your niche and content.
- Links: Add links to your social media profiles, website, or other relevant pages.
- Contact Info: Add an email address for business inquiries.
Action for Day 2:
- Choose and finalize your channel name and handle.
- Create or commission your channel profile picture and banner.
- Write a compelling channel description.
- Complete all basic channel settings in YouTube Studio.
Day 3: Content Idea Generation and Planning
Now for the exciting part: figuring out what your first few videos will be! Don't wait for inspiration to strike; successful creators actively seek out ideas. Aim to plan ideas for at least your first 3-5 videos to get momentum.
Where to Find Video Ideas:
- Answer Specific Questions (ASQ): The most effective strategy for new channels is to create content that directly answers questions people are searching for. Think about the problems your target audience faces within your niche – what are they asking Google or YouTube?
- Analyze Competitors: Look at successful channels in your niche. Which of their videos have the most views and engagement? Can you create a video on a similar topic but offer a unique perspective or provide even more value? Use tools like Subscribr's Channel Intelligence and Video Analysis features to understand what's working for others.
- Industry Trends: Cover hot, new topics or events within your specific community or industry.
- Culture Surfing: Connect popular, trending headlines or cultural events to your channel's topic.
- Your Own Experience: What questions have you been asked frequently about your niche? What challenges have you overcome? What unique stories do you have? Infusing storytelling makes your content unique and engaging.
Plan Your First Videos
Don't just list topics; briefly outline the angle and main points for each video idea. Consider the video format (tutorial, review, vlog, etc.) and how it fits your niche and target audience. When starting, keep it simple. Complexity is the enemy of execution.
Action for Day 3:
- Brainstorm at least 10-15 video ideas using the strategies above.
- Select your top 3-5 ideas for your first videos.
- For each selected idea, write a brief outline or bullet points of the key topics you will cover.
- Define the specific content format for each of these initial videos (e.g., "How-to tutorial," "Product review," "Explained").
Day 4: Scripting or Outlining Your First Video
With your first video idea selected, it's time to structure the content. Whether you write a full script or a detailed outline depends on your preference and the video style, but having a plan is crucial for delivering clear, engaging content and maintaining viewer attention.
The Importance of Structure
A good structure ensures your video flows logically, keeps viewers engaged, and helps you stay on track during filming. For growth, prioritizing scripting or outlining helps you integrate hooks effectively and makes the recording process more efficient.
Scripting vs. Outlining:
- Full Script: Writing out every word you plan to say. This provides maximum control over your message and timing but can sometimes sound less natural. Good for tutorials, explanations, or videos with complex information.
- Detailed Outline: Bullet points covering the main sections, key points within each section, and important transitions. This allows for more natural delivery but requires you to elaborate on points extemporaneously. Good for vlogs, commentary, or more conversational styles.
Key Elements to Include:
- Hook (First 15-30 seconds): This is critical! Grab the viewer's attention immediately. Tell them what the video is about and why they should care. What problem will you solve? What value will you provide? Subscribr's AI Script Writer can help generate compelling hooks optimized for retention.
- Introduction: Briefly introduce yourself and your channel (if you haven't already in the hook), and give a quick overview of what you'll cover in the video.
- Main Content: Break down your topic into logical sections. Present your information clearly and concisely.
- Call to Action (CTA): Tell viewers what you want them to do next – subscribe, like the video, leave a comment, watch another video, visit a link. Place CTAs strategically throughout the video, not just at the end.
- Outro: A brief wrap-up. Thank viewers for watching and reinforce your brand.
Action for Day 4:
- Choose your first video idea from yesterday's list.
- Decide whether you will write a full script or a detailed outline.
- Write the script or outline for your first video, including a strong hook and clear call to action.
- Estimate the speaking time based on your script/outline (a rough guide is 150-180 words per minute).
Day 5: Filming Your First Video
Don't let perfect be the enemy of good. You don't need expensive equipment to start. Your smartphone is powerful enough to record high-quality video and audio. Focus on good lighting and clear audio.
Setting Up Your Filming Space:
- Lighting: Natural light from a window is great. Avoid direct sunlight which can create harsh shadows. If using artificial light, position it in front of you.
- Audio: Clear audio is arguably more important than video quality. Record in a quiet space. Use your phone's built-in mic if needed, but ideally, use an external microphone (even an inexpensive lavalier mic makes a big difference).
- Background: Keep your background tidy and non-distracting. A plain wall or a slightly blurred background works well.
- Camera: Use your smartphone's rear camera for better quality. Position the phone horizontally for standard YouTube videos.
- Framing: Position yourself in the center or slightly off-center, leaving some headspace.
Tips for Filming:
- Practice: Read through your script or outline a few times before recording.
- Record in Chunks: Don't feel like you have to get it all in one take. Film section by section.
- Speak Clearly: Enunciate and speak at a natural pace.
- Look at the Lens: This helps you connect with the viewer.
- Be Yourself: Let your personality shine through!
Action for Day 5:
- Set up your filming space with attention to lighting and audio.
- Film your first video, following your script or outline.
- Record any necessary B-roll footage (extra shots that relate to what you're talking about) if applicable.
Day 6: Editing and Packaging
Editing is where you turn your raw footage into a polished video. Packaging (your title and thumbnail) is what convinces viewers to click. Spend significant time on these elements – they are crucial for getting views.
Basic Editing:
You can use free editing software available on your computer (like iMovie for Mac or Shotcut for Windows/Linux) or mobile apps (like CapCut or InShot).
- Import Footage: Bring all your video and audio clips into the editing software.
- Assemble: Arrange your clips according to your script/outline.
- Trim: Cut out mistakes, pauses, and unnecessary parts.
- Add Music/Sound Effects: Use royalty-free music (YouTube Audio Library is a great resource).
- Add Text/Graphics: Include on-screen text for key points or calls to action.
- Color Correction (Optional): Adjust colors to make your footage look better.
- Export: Render your final video in a high-quality format (1080p or 4K).
Crafting Your Title and Thumbnail:
These are your video's advertisement. They need to be compelling and accurately represent your content.
- Title: Make it clear, concise, and attention-grabbing. Include keywords that people might search for, but prioritize making it interesting and benefit-driven.
- Thumbnail: Design a custom thumbnail that is simple, scroll-stopping, and visually represents your video's topic. Use clear text (if any) and appealing imagery. Study successful thumbnails in your niche for inspiration.
Action for Day 6:
- Edit your first video.
- Create a compelling title and custom thumbnail for your video.
Day 7: Uploading and Launching
You've made it to the final day of the checklist! It's time to get your video onto YouTube and prepare it for the world to see.
Uploading Your Video:
- Go to YouTube Studio and click the "Create" button (camera icon) in the top right corner.
- Select "Upload videos."
- Drag and drop your video file or click "SELECT FILES."
Optimizing Video Details:
While traditional keyword optimization is less critical than it once was, providing context for YouTube's algorithm and your viewers is still important. Focus on audience value and clarity.
- Title: Enter the title you created on Day 6.
- Description: Write a detailed description. Explain what the video is about, include relevant keywords naturally, add timestamps to help viewers navigate the video, and include links to relevant resources, social media, or other videos.
- Thumbnail: Upload your custom thumbnail.
- Audience: Specify if your video is "Made for Kids" according to COPPA regulations.
- Tags: Add relevant tags, but don't overthink this. Tags are less important than they used to be; focus on your title, thumbnail, and description.
- Visibility: Set your video to Public, Unlisted, or Private. For your launch, you'll likely choose Public. You can also schedule it for a specific time.
Final Checks Before Publishing:
Review your title, description, thumbnail, and tags. Watch the video one last time to ensure everything looks and sounds correct.
Action for Day 7:
- Upload your first video to YouTube.
- Fill out all video details: title, description, thumbnail, audience, and tags.
- Perform final checks.
- Set the visibility to Public and hit publish, or schedule it for a specific time!
Tools & Resources
Getting started doesn't have to be a solo mission. Platforms like Subscribr offer AI-powered tools specifically designed for YouTube creators, helping you with everything from niche research and idea generation to script writing and performance analysis. Use Subscribr's Research Assistant and AI Script Writer to streamline your planning and content creation during these crucial first 7 days and beyond.
You've Launched! Now What?
Congratulations! You've successfully launched your YouTube channel and published your first video in just 7 days. This is a massive accomplishment and helps you overcome the initial inertia that stops many aspiring creators.
Getting started is the prerequisite for any future monetization or growth. Your early videos likely won't be perfect, but that's okay. The most important thing is to start publishing consistently and commit to improving by 1% with every upload. Continuously analyze what resonates with your audience, iterate on different formats, and keep creating valuable content. The journey has just begun!


