

Ready to get your next 10,000 subscribers?
Join thousands of creators who use Subscribr to create faster, better YouTube videos.

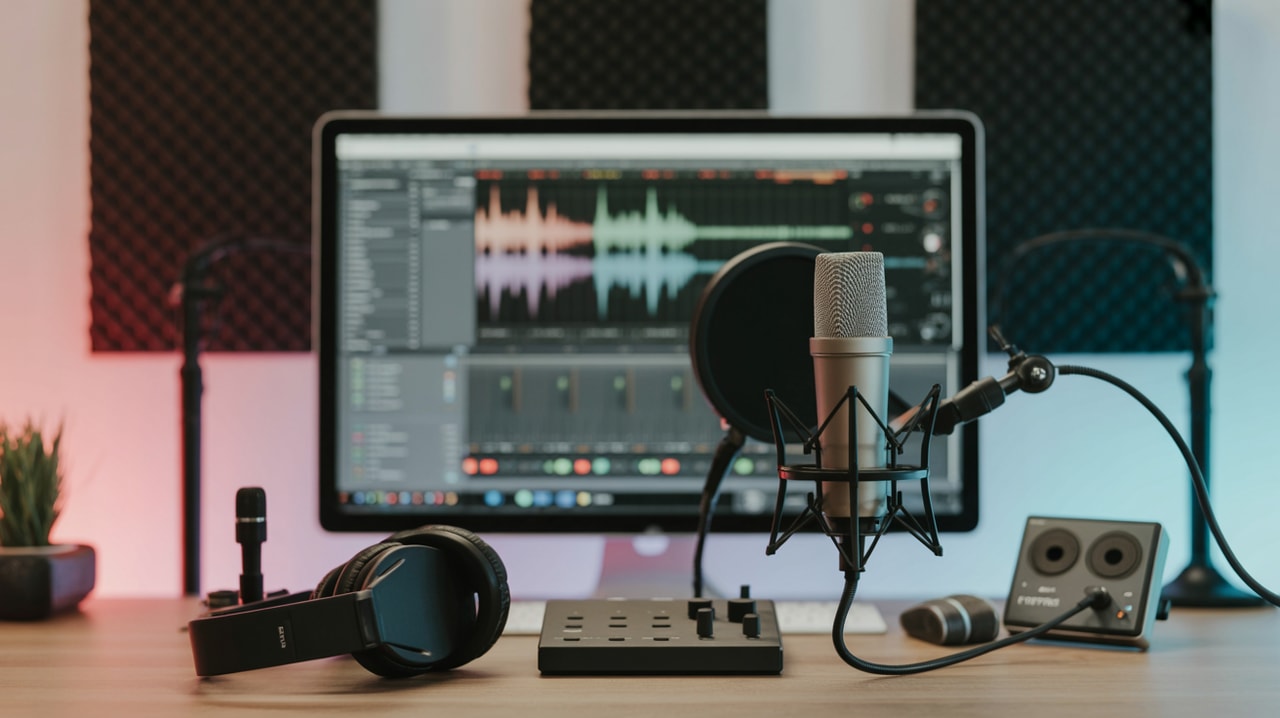
YouTube Audio Deep Dive: From Room Tone to Final Mix (Pro Sound)
For established and professional creators on YouTube, achieving broadcast-quality audio isn't just a luxury – it's a necessity. Inconsistent audio quality and the technical complexity of sound production are major pain points that can hold back even visually stunning content. This deep dive goes beyond basic microphone recommendations, exploring advanced techniques and workflows to elevate your YouTube audio from simply audible to truly professional.
Mastering your audio is arguably the most important technical aspect to prioritize. Viewers are far more forgiving of less-than-perfect video than they are of poor sound. Muffled dialogue, distracting background noise, or inconsistent levels can quickly lead viewers to click away, regardless of how valuable your content is. Investing time and effort in your audio workflow directly enhances production quality, leading to higher viewer retention and a more professional brand image.
The Foundation: Capturing Clean Audio
Professional audio starts long before you hit record. The environment you record in and the equipment you use form the crucial foundation.
Understanding Your Recording Environment
Even the most expensive microphone will sound poor in a bad acoustic space. Hard, reflective surfaces like bare walls, floors, and windows cause sound reflections, resulting in echo and reverb that make your audio sound distant and unprofessional.
- Room Tone is King: Before recording any dialogue, capture at least 30 seconds of "room tone" – the sound of your recording space when it's completely silent. This ambient noise is crucial in post-production for filling gaps, smoothing edits, and applying noise reduction without introducing artificial-sounding silence.
- Treating Your Space: For professional results, consider acoustic treatment. This doesn't necessarily mean building a full studio. Simple solutions like adding soft furnishings, rugs, curtains, and even strategically placed blankets or acoustic panels can significantly reduce reflections. Aim to break up parallel surfaces.
- Minimize Background Noise: Identify and eliminate sources of noise before recording. This includes turning off air conditioners, fans, refrigerators, and silencing phone notifications. Record during quiet times of the day.
Selecting Professional-Grade Equipment
While budget options exist, achieving truly professional sound often requires investing in higher-quality gear. Equipment selection is a key theme for professional creators looking to enhance production quality.
- Microphones: Your microphone is the first and most critical link in the audio chain.
- Shotgun Microphones: Excellent for capturing focused audio while rejecting off-axis sound, ideal for on-camera dialogue when positioned correctly (often on a boom pole).
- Lavalier Microphones: Small, clip-on mics that attach to clothing, perfect for capturing consistent audio from a single speaker, especially when movement is involved. Wireless options offer greater freedom.
- Condenser vs. Dynamic: Condenser mics are generally more sensitive and require phantom power, capturing detailed audio ideal for controlled studio environments. Dynamic mics are more robust and less sensitive, better for noisy environments or loud sound sources.
- Audio Interfaces and Mixers: For multiple audio sources (e.g., multiple microphones, instruments) or higher-quality recording, an audio interface or mixer is essential. These devices convert analog audio signals to digital for your computer and provide preamps that boost microphone signals cleanly. Channels like @AudioUniversity offer guides on setting up and using audio mixers effectively, covering topics like connecting a mixer to an audio interface for recording and mixing.
- Digital Audio Workstations (DAWs): Professional audio editing and mixing software is non-negotiable. Popular DAWs include Adobe Audition, Logic Pro, Pro Tools, and Ableton Live. Even video editing software like DaVinci Resolve has powerful built-in audio editors like Fairlight, as demonstrated by channels like @JorisHermans showing how to get perfect audio within the video editor.
Post-Production Power: Mixing and Mastering for YouTube
Capturing clean audio is half the battle; the other half is transforming that raw audio into a polished, professional final mix. This is where technical complexity can feel steep, but understanding key concepts makes a significant difference.
Essential Mixing Techniques
Mixing is the process of balancing and enhancing all the individual audio tracks in your video (dialogue, music, sound effects) to create a cohesive and clear final product.
- Gain Staging: Proper gain staging is fundamental to avoiding distortion and ensuring optimal signal levels throughout your workflow. As highlighted in videos like "7 Gain Staging Mistakes That Most Producers Make (and How to Fix Them!)" from @EDMTips, incorrect gain staging can ruin your mix before you even start adding effects. Set input levels correctly at the recording stage and maintain appropriate levels within your DAW.
- Equalization (EQ): EQ is used to shape the tone of your audio, boosting desirable frequencies and cutting undesirable ones. Use EQ to remove muddiness from dialogue, reduce harshness, and help different audio elements sit well together in the mix.
- Compression: Compression reduces the dynamic range of your audio, making the loud parts quieter and the quiet parts louder. This results in a more consistent and controlled sound. It's essential for dialogue to ensure it stays at a consistent volume and is easily understandable.
- Noise Reduction: Even with careful recording, you may have some background noise. Use noise reduction tools in your DAW sparingly to clean up audio without making it sound artificial. Remember that room tone you recorded? It's invaluable here.
- De-essing: Sibilance (harsh "s" sounds) can be distracting. A de-esser is a type of compressor specifically designed to attenuate these frequencies.
- Reverb and Delay: Use these effects cautiously on dialogue for YouTube. While they can add space and depth, too much can make your audio sound distant or unprofessional. They are often more useful for sound design or music.
- Balancing Levels: Ensure your dialogue is the most prominent element in your mix. Music and sound effects should support the visuals and dialogue, not overpower them. Aim for consistent loudness throughout your video.
Several channels offer guides on these techniques. For instance, @PluginAlley discusses why mixes sound amateur and how to fix common mistakes, emphasizing critical listening and a song-first approach (applicable to video audio too). @EDMTips provides tips on fixing muddy and thin mixes, crucial for achieving clarity. For vocal-focused content, learning a structured vocal mixing chain, as taught in videos like "Best Way to Mix Vocals (5-Step Vocal Mixing Chain)" from @EDMTips or "How To Mix And Master ANY Vocals To Sound Professional" from @TRIFREEZE, is highly beneficial.
Mastering for YouTube
Mastering is the final step, preparing your mixed audio for distribution on YouTube. It involves subtle adjustments to the overall mix to ensure it sounds its best across various playback systems and meets platform specifications.
- Loudness Standards: YouTube uses loudness normalization (around -14 LUFS). Mastering to this standard (or slightly below) is crucial. If your audio is too loud, YouTube will turn it down, potentially affecting the dynamics. If it's too quiet, viewers may struggle to hear it. Use a loudness meter in your DAW to monitor your levels.
- Limiting: A limiter is used in mastering to catch the loudest peaks and prevent clipping (distortion). It's a crucial tool for increasing overall loudness without introducing unwanted artifacts.
- Reference Tracks: Compare your mastered audio to professionally produced content on YouTube to ensure your levels and overall tone are in the right ballpark.
- Checking on Different Systems: Listen to your mastered audio on headphones, different speakers, and mobile devices to ensure it translates well across various playback systems.
For a deeper dive into mastering, including creating a mastering chain and optimizing for platforms like Spotify (principles often applicable to YouTube), resources like "Perfect Mastering Chain (How to Get Loud & Clean Masters Every Time)" from @EDMTips can provide valuable insights.
Addressing Technical Complexity and Pain Points
The technical complexity of audio can be daunting, but breaking it down into manageable steps and leveraging the right tools makes it achievable.
- Structured Workflow: Develop a consistent audio workflow for every video. This might involve:
- Recording room tone.
- Capturing primary audio with good equipment in a treated space.
- Importing audio into your DAW or video editor.
- Editing dialogue (removing mistakes, pauses).
- Applying noise reduction and de-essing.
- EQing and compressing dialogue.
- Adding and balancing music and sound effects.
- Mastering the final mix to YouTube's loudness standards.
- Practice and Experimentation: Don't expect perfect results immediately. Practice with your equipment and software. Experiment with different microphone placements, EQ settings, and compression ratios to hear how they affect your sound.
- Learn from Others: Utilize the wealth of tutorials available on YouTube from audio professionals and successful creators. Channels dedicated to audio production or those that frequently discuss their technical process can be invaluable resources.
- Leverage Subscribr for Research and Planning: While Subscribr's core strength is content strategy and scriptwriting, its research capabilities can indirectly support your audio goals. Use the Research Assistant to import and analyze transcripts from videos that have audio production styles you admire. While it won't analyze the audio itself, it can help you understand the content structure and delivery style of creators who clearly prioritize high production value, informing your overall approach. You can also use Subscribr's planning tools to outline your video projects, including specific notes and reminders about your audio recording and mixing workflow to ensure consistency.
Monetization Angle: Affiliate Opportunities
As you build expertise and showcase professional audio quality, you open doors for monetization beyond AdSense. Recommending the gear and software you use through affiliate links is a natural fit for an article like this targeting creators interested in Production Quality Enhancement and Equipment selection & Justification.
- Microphones: Link to the specific microphones you recommend or use, offering options across different price points.
- Audio Interfaces/Mixers: Provide links to reliable interfaces and mixers suitable for YouTube production.
- Headphones: Recommend quality studio headphones essential for accurate monitoring and mixing.
- Acoustic Treatment: Link to affordable acoustic panels, foam, or even materials for DIY solutions.
- Software/Plugins: If you use specific paid plugins or recommend a particular DAW, include affiliate links where available.
Be transparent about using affiliate links and only recommend products you genuinely believe in and use yourself.
Conclusion
Achieving professional audio on YouTube is a journey that involves understanding the fundamentals of sound, investing in appropriate equipment, and mastering post-production techniques. By focusing on capturing clean source audio, implementing a structured mixing workflow, and paying attention to final mastering, you can overcome the technical hurdles and significantly enhance the production quality of your content. Prioritize clean audio above all else, as it's the most critical factor in viewer retention and the perceived professionalism of your channel. Leverage resources, practice consistently, and don't be afraid to experiment. Your audience will thank you for the improved listening experience.


